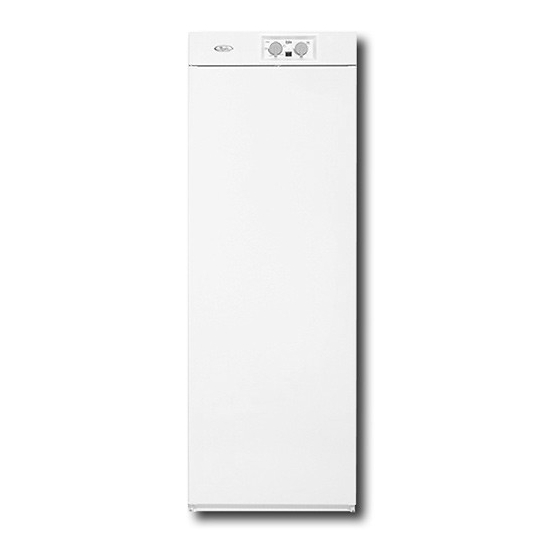
Whirlpool DryAire 설치 지침 매뉴얼 - 페이지 7
{카테고리_이름} Whirlpool DryAire에 대한 설치 지침 매뉴얼을 온라인으로 검색하거나 PDF를 다운로드하세요. Whirlpool DryAire 16 페이지. Drying cabinet

5. Rotate the door and install it on the opposite side. Check to
see that the magnetic door seal is on the opposite side from
the hinges.
6. Replace the washer and bottom hinge pin.
1
2
1. Upper hinge
2. Lower hinge
Install Door Slider Kit
WARNING
Excessive Weight Hazard
Use two or more people to move and install
drying cabinet.
Failure to do so can result in back or other injury.
Assemble the required tools and parts before starting installation.
Read and follow the instructions provided with any tools listed
here.
Tools needed
Drill (electric recommended)
Phillips screwdriver
¹⁄₈ in. drill bit
³⁄₃₂ in. drill bit
Parts supplied
Door slider kit
Bracket (3)
Slider (3)
Optional (not included)
Panel trim kit (part numbers 4396494-white, 4396499-
biscuit). Refer to the "Assistance or Service" section of the
Use and Care Guide for accessory information.
Marker or pencil
Center hole punch
Mallet or hammer
Gloves (optional)
³⁄₈ in. sheet metal screws (6)
⁵⁄₈ in. wood screws (9)
Install door slider kit
NOTE: The slider and bracket unit may be installed without
removing the drying cabinet door. If you wish, you may remove
the drying cabinet door for the installation of the slider and
bracket unit. Place on a flat surface, front facing up. See
"Reverse Door Swing."
1. Using the slider and bracket unit as a template, mark the
screw hole locations 1 in. down from the top of the drying
cabinet door. Measure 1 in. up from the bottom of the door
and mark the screw hole locations. Mark the screw hole
locations for the center slider and bracket unit.
1"
(2.5 cm)
1
2
1. Slider placed against front of the drying cabinet door
2. Bracket attached to side of the drying cabinet door
2. Put the slider and bracket unit aside. Center punch the screw
hole locations.
3. Drill ¹⁄₈ in. holes.
NOTE: Using a smaller drill bit to drill a pilot hole for ¹⁄₈ in. drill
bit may make drilling easier.
4. Using ³⁄₈ in. sheet metal screws, attach the top, bottom and
middle slider and bracket units to the drying cabinet door.
5. If you have removed the door, replace it now. See "Reverse
Door Swing."
6. Close the drying cabinet and custom cabinetry door. On the
custom cabinetry door facing, mark in pencil the outside
edge of the custom cabinetry door.
7
