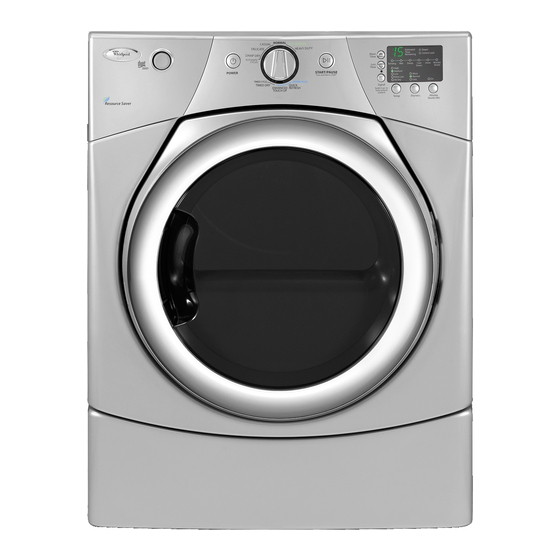
Whirlpool YWED9270XL2 사용 및 관리 매뉴얼 - 페이지 11
{카테고리_이름} Whirlpool YWED9270XL2에 대한 사용 및 관리 매뉴얼을 온라인으로 검색하거나 PDF를 다운로드하세요. Whirlpool YWED9270XL2 28 페이지. Duet / duet steam electronic dryer

First try the solutions suggested here and possibly avoid the cost of a service call...
Dryer Operation
Dryer will not run
■
Is the dryer door firmly closed?
■
Was the Start/Pause button firmly pressed?
Large loads may require pressing and holding the Start/Pause
button for 2-5 seconds.
■
Has a household fuse blown, or has a circuit breaker
tripped?
There may be 2 household fuses or circuit breakers for the
dryer. Check that both fuses are intact and tight, or that both
circuit breakers have not tripped. Replace the fuse or reset the
circuit breaker. If the problem continues, call an electrician.
■
Is the correct power supply available?
Electric dryers require 240-volt power supply. Check with a
qualified electrician.
■
Was a regular fuse used?
Use a time-delay fuse.
Unusual sounds
■
Has the dryer had a period of non-use?
If the dryer hasn't been used for a while, there may be a
thumping sound during the first few minutes of operation.
■
Is a coin, button, or paper clip caught between the drum
and front or rear of the dryer?
Check the front and rear edges of the drum for small objects.
Clean out pockets before laundering.
■
Are the four legs installed, and is the dryer level front to
back and side to side?
The dryer may vibrate if not properly installed. See the
Installation Instructions.
■
Is the clothing knotted or balled up?
When balled up, the load will bounce, causing the dryer to
vibrate. Separate the load items and restart the dryer.
No heat
■
Has a household fuse blown, or has a circuit breaker
tripped?
The drum may be turning, but you may not have heat. Electric
dryers use 2 household fuses or circuit breakers. Replace the
fuse or reset the circuit breaker. If the problem continues, call
an electrician.
Dryer displaying code message
■
"PF" (power failure), check the following:
Was the drying cycle interrupted by a power failure?
Press and Hold to START to restart the dryer.
■
"F# E#" (F1 E1, F3 E1, etc.) variable service codes:
If a code beginning with an "F" appears in the display,
alternating between F# and E#, the dryer control has detected
a problem that requires service. Call for service.
TROUBLESHOOTING
For additional recommendations, refer to your Installation Instructions.
Dryer Results
Clothes are not drying satisfactorily, drying times are too
long, or load is too hot
■
Is the lint screen clogged with lint?
Lint screen should be cleaned before each load.
■
Has the Air Dry temperature setting been selected?
Select the right temperature for the types of garments being
dried. See "Air Dry."
■
Is the load too large and heavy to dry quickly?
Separate the load to tumble freely.
■
Is the exhaust vent or outside exhaust hood clogged with
lint, restricting air movement?
Run the dryer for 5-10 minutes. Hold your hand under the
outside exhaust hood to check air movement. If you do not
feel air movement, clean exhaust system of lint or replace
exhaust vent with heavy metal or flexible metal vent. See the
Installation Instructions.
■
Are fabric softener sheets blocking the grille?
Use only one fabric softener sheet, and use it only once.
■
Are drying times too long or are clothes too dry?
Automatic cycle default settings may have been changed. See
Changing the Automatic Cycle Default Settings.
■
Is the exhaust vent the correct length?
Check that the exhaust vent is not too long or has too many
turns. Long venting will increase drying times. See the
Installation Instructions. See also Changing the Automatic
Cycle Default Settings, if you are unable to shorten the vent
length.
■
Is the exhaust vent diameter the correct size?
Use 4" (102 mm) diameter vent material.
■
Is the dryer located in a room with temperature below 45ºF
(7ºC)?
Proper operation of dryer cycles requires temperatures above
45ºF (7ºC).
■
Is the dryer located in a closet?
Closet doors must have ventilation openings at the top and
bottom of the door. The front of the dryer requires a minimum
of 1" (25 mm) of airspace, and, for most installations, the rear
of the dryer requires 5" (127 mm). See the Installation
Instructions.
Cycle time too short
■
Is the automatic cycle ending early?
The load may not be contacting the sensor strips. Level the
dryer.
Change the dryness level setting on Automatic Cycles.
Increasing or decreasing the dryness level will change the
amount of drying time in a cycle. If loads are consistently
ending too early, see also Changing the Automatic Dry Default
Settings.
Lint on load
■
Is the lint screen clogged?
Clean lint screen. Check for air movement.
11
