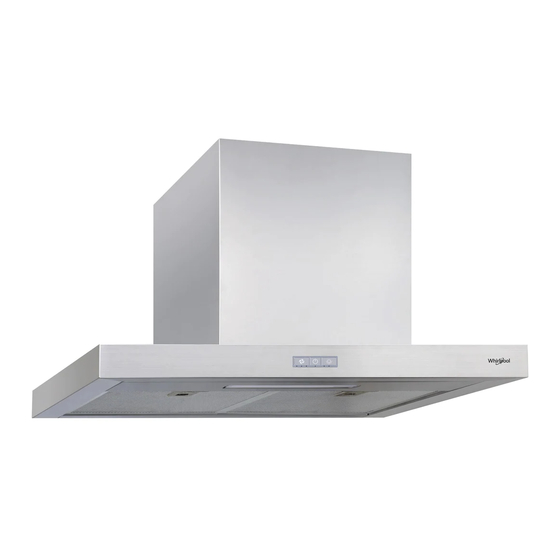
Whirlpool AKT3590/IX 건강 및 안전, 사용 및 관리, 설치 매뉴얼 - 페이지 6
{카테고리_이름} Whirlpool AKT3590/IX에 대한 건강 및 안전, 사용 및 관리, 설치 매뉴얼을 온라인으로 검색하거나 PDF를 다운로드하세요. Whirlpool AKT3590/IX 24 페이지.

1. Mark a line A as shown in below diagram, the distance between the bottom of the hood to the top of cook
" "
top is 650-750mm.
2. Draw and mark a center vertical line C on the wall.
3. Mark hood height line B. (362 mm from line A)
4. Mark mounting screw holes on line B, 132mm apart from the center line(on left and right).
5. Fasten (2)
M6 x "
1 screws into studs on line B but do not tighten all the way.
6. Remove the (2) aluminum
7. Hang hood nto the mounting screws and hand tighten each screw
i
the hood to make sure that it is level and tighten down partially tightened screws to the body.
8. Center and attach duct cover mounting bracket to wall just below the ceiling or soffit using (2)
+ (2)
washers
.
9. Install
power cord
and duct. Seal duct with tape (optional).
10.
Turn on the
hood and check for
11. Extend inner (top) duct cover upwards and secure to duct cover bracket using (2) M4 x 8 screws.
12. Secure bottom duct cover to hood body by 2 3/16 x 3 8 screws
13. Install the oil cup to the center of the motor shell.
14. Reinstall filters.
Screw holes
M
M
ounting
ounting
Electrical connections must be carried out by a specialized technician,
this appliance must be connected with earth wire.
Supply cord must be disconnected from power source before connection (to
the appliance).
" "
grease
filters.
air
leaks around duct tape.
( )
264
152
Screw holes
60
650 750
-
C
M
M
ethod
ethod
(step 5.) Hook the hood to the wall. Adjust
,
/
.
"
B
362
A
Unit mm
:
4
.
M6
x 1 screws
"
