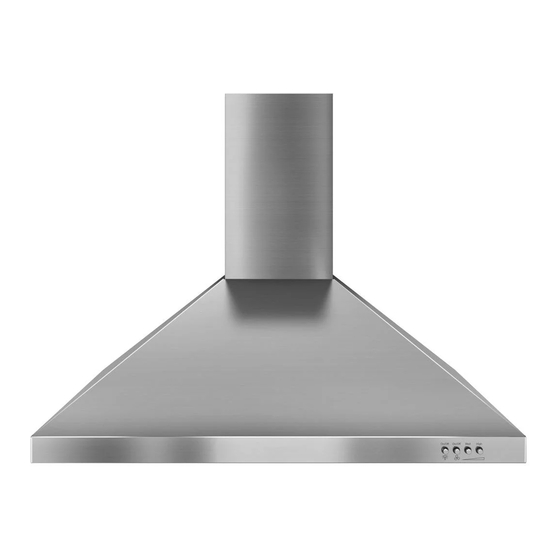
Whirlpool UXW7230BSS 설치 지침 및 사용 및 관리 설명서 - 페이지 10
{카테고리_이름} Whirlpool UXW7230BSS에 대한 설치 지침 및 사용 및 관리 설명서을 온라인으로 검색하거나 PDF를 다운로드하세요. Whirlpool UXW7230BSS 32 페이지. 30-inch vented 400-cfm wall-mount canopy hood
Whirlpool UXW7230BSS에 대해서도 마찬가지입니다: 설치 지침 및 사용 및 관리 설명서 (32 페이지), 설치 지침 및 사용 및 관리 설명서 (32 페이지)

Complete Preparation
3. If not yet attached, install the 6" (15.2 cm) vent transition the
top of the range hood liner using two 3.5 x 9.5 mm screws.
4. Locate side mounting bracket flush to the bottom of the
cabinet side and against the inside of the front cabinet face.
Orient the bracket depending on the width of your cabinet as
depicted in the diagrams below. Drill
6 places, attach a bracket using three 4.5 x 13 mm screws to
each side of the cabinet, and tighten. Additional washers in
hardware package are supplied as spacers for cabinet walls
thinner than ½" (13 mm).
Bracket Orientation for 30" (76.2 cm) Cabinet
B
A
A. 30" (76.2 cm) cabinet
B. Screws - 4.5 x 13 mm (6)
C. Washers (optional)
D. Mounting bracket (2) (position for 30" [76.2 cm] cabinet)
Bracket Orientation for 36" (91.4 cm) cabinet
C
A
B
A. 36" (91.4 cm) cabinet
B. Screws - 4.5 x 13 mm (6)
C. Washers (optional)
D. Mounting bracket (2) (position for 36" [91.4 cm] cabinet)
5. Install the vent system according to the method needed. Use
caulking to seal the exterior wall or roof opening.
10
" (3 mm) pilot holes in
C
D
D
Install Range Hood
WARNING
Excessive Weight Hazard
Use two or more people to move and install
range hood.
Failure to do so can result in back or other injury.
1. Using 2 or more people, lift the hood liner into its mounted
location. Attach with four 4.2 x 19 mm screws into the slotted
openings. Do not tighten screws.
A
A. Cabinet
B. Hood liner canopy assembly
2. If needed, insert spacers between each side of the canopy
and the mounting plate to space and center the canopy in the
cabinet. Align the bottom of the canopy with the bottom of
the cabinet. Install four 4.2 x 19 mm screws into the round
mounting plate openings and tighten all (8) mounting screws.
3. (For some installations):
A filler strip may be required for some cabinets.
Install a filler strip and secure with two 4.5 x 13 mm screws
from inside the front of the hood liner assembly.
A. Screws - 4.5 x 13 mm
B. Filler strip
B
C
D
C. Screws - 4.2 x 19 mm (8)
D. Spacer - optional
B
A
