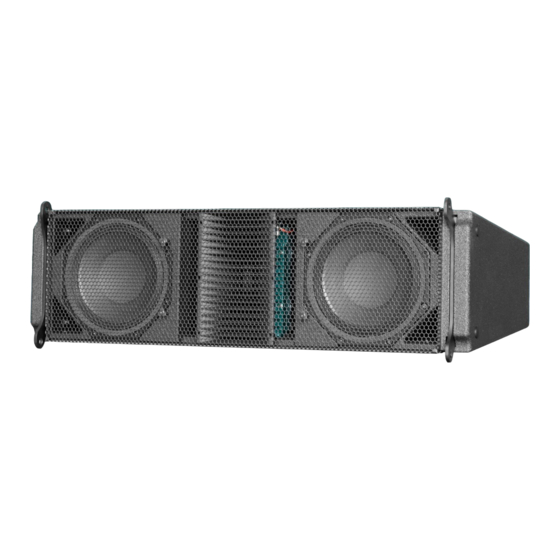
Alcons LR18i 사용자 설명서 - 페이지 14
{카테고리_이름} Alcons LR18i에 대한 사용자 설명서을 온라인으로 검색하거나 PDF를 다운로드하세요. Alcons LR18i 18 페이지. Compact installation line-array module

5. Array configurations ___________________________________________
LR18i ground stacking
The maximum allowed number of cabinets in ground stacked mode with GRD18i is six.
Make sure that the array is assembled on a flat and stable surface
Required tools: Allan key wrench 5mm, thin 13mm wrench, long 13mm combination wrench and torque wrench 5-20Nm.
Place the GRD18i(1) on a flat and stable surface. Begin with the first cabinet. Use the supplied locating bolts and black locking nuts for the front couplers(2).
Align the A/B hole with the "A" hole in the angle frame(5) with the collar bolt(6) and the 0,5°/hole GRD18i to the 0° or -2,7° on GRD18i. Pin the long M8 bolt and
slide the black bushing onto the bolt end. Lock the connection with the black locking nut.
Make the first inter-cabinet connection. Align the front coupler holes and pin with the locating bolt and locking nuts. Due to the tight space, a thin wrench is
preferred. A "long nose plier" can also be used, to align and screw the nut onto the locating bolt->15Nm.
Make the correct angle connection. These are stated on the angle frame. use the collar bolts(6) for the angle connection. Tighten up the bolt connections-
>15Nm . Repeat these steps for the remaining cabinets.
When the assembled array has been raised, check all bolt connections.
14
Rigging manual LR18i Rev. 1.1
