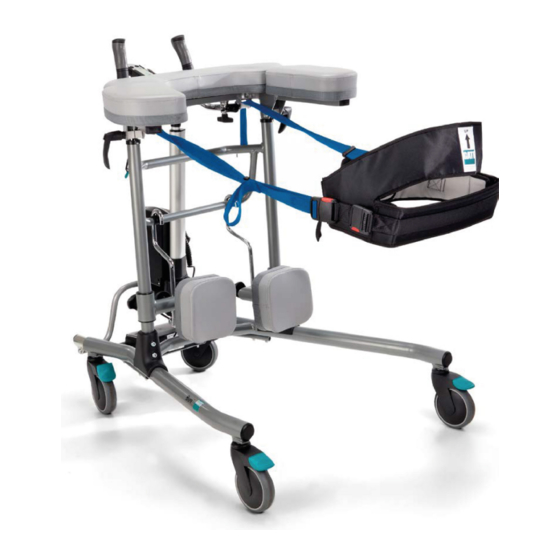
Direct Healthcare Group Bure Rise & Go 기술 매뉴얼 - 페이지 7
{카테고리_이름} Direct Healthcare Group Bure Rise & Go에 대한 기술 매뉴얼을 온라인으로 검색하거나 PDF를 다운로드하세요. Direct Healthcare Group Bure Rise & Go 12 페이지.
Direct Healthcare Group Bure Rise & Go에 대해서도 마찬가지입니다: 사용자 설명서 (12 페이지)

5. Control box wiring
Remove the control box cover to make the connections as described below.
Use a screwdriver or similar; refer to the special labels on the control box.
NOTE: Make sure that plugs are connected to the correct sockets otherwise the
actuators can be damaged.
1. Socket for the raise/lower actuator.
2. Remote control socket.
3. Battery terminal socket.
4. Plug socket NOTE: Plugs must ALWAYS be connected to the control box for
IP classification to be valid.
6. Battery charging
•
Connect plug to 230V wall socket. Charging begins automatically and the
battery LED flashes green.
•
Make sure the battery is fully charged before using for the first time. It takes
around 25 h to fully charge the battery.
•
We recommend that the battery plug be removed from the control box if the
product will be out of use for an extended period (more than one week) or if
the battery is switched off by means of the ON/OFF switch. This eliminates
the risk of disabling the battery as the control box always uses a small
quantity of electricity even when the walker is not in use.
7. LED on controlbox and battery
Control box – green light when power is available from battery/mains socket.
Battery:
•
The LED flashes green during charging.
•
ON/OFF: To use the product, press ON.
•
The green lamp will begin to flash.
•
Use the OFF button (hold down for 5 s) to switch off the battery if the
product will not be used for an extended period.
•
The LED will shows a constant green light when the battery is fully charged.
•
When the battery is in normal state/in operation, the LED flashes green at
REGULAR intervals, namely 0.5 s ON, 4 s OFF.
•
When the battery requires charging (remaining charge <25%) the LED will
flash orange/red at REGULAR intervals, namely 0.5 s ON, 4 s OFF. .
NOTE: The battery has an in-built device that automatically switches it off when
remaining charge is <20%. The LED is then extinguished. The battery must now
be fully charged before the electronics can be used again.
TEC HN I CAL MANU AL
G ATE RD .SE
1
2
3
4
7
