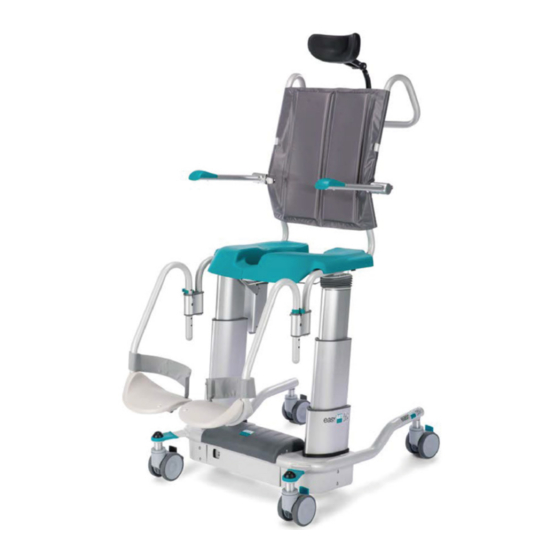
Direct Healthcare Group EASY SoftBack 사용자 설명서 - 페이지 7
{카테고리_이름} Direct Healthcare Group EASY SoftBack에 대한 사용자 설명서을 온라인으로 검색하거나 PDF를 다운로드하세요. Direct Healthcare Group EASY SoftBack 20 페이지.

EASY SO F TBA C K
4. Battery Charging
4
Charge the battery by connecting the charger supplied to a wall socket and
the remote control connector. A discharged battery takes around 12 hours
to charge to 80% and 24 hours to reach 100% charge. While the battery is
charging, the battery indicator will flash showing actual charge level. All three
bars will show a constant green light when the battery is fully charged. We
recommend the battery always be charged to at least 80% – once begun,
charging should not be interrupted before an 80% charge is achieved.
NOTE: The battery can be damaged if not charged at least every 14 days in
the On position or at least every three months in the Off position.
5
For safety reasons, chair electronics cannot be used while the battery is
charging. Avoid charging in wet spaces. Make a habit of always charging
the battery if at the end of the day it has dropped to level 1 (one green bar
on the battery indicator). If the Hygiene Chair will not be used for a few days,
we recommend switching off the battery by means of the Off button located
on the battery
Make sure the remote control socket/charge is always covered
plugged in when using the chair. Otherwise water may get in and
6
damage the remote control.
5. Battery On/Off
The battery is located under a protective cover at the base of the chair. The
battery has On/Off buttons that are reached through an opening at the lower
front part of the chair. Operate the buttons by pressing them with a pointed
object (not sharp). When delivered, the battery is switched off. Activate the
7
battery by pressing the On button or connecting the charger to the remote
control. To one side of the buttons, there is also an LED indicator that shows
battery charge.
6. Driving the Chair
We recommend using the handlebar whenever the chair must be moved
(with/without a patient). The handlebar is designed so that the chair can be
moved forwards and turned easily and with the use of little force.
7. Adjusting the Neck Support
8
The neck support has many degrees of freedom and can be fixed vertically,
horizontally and radially in order to achieve the very best comfort for the
patient.
a) The neck support holder can be moved sideways (requires Allen key).
b) Up/down – locked using a lever on the neck support holder
c) Forward/back – locked by associated lever on the neck support.
9
d) The pad can be set and locked in the desired position with a star handle.
8. Backstrap
The back strap can be set to the preferred tension using the 3 buckles on
the back. The back strap has a notch on each side of the armrest intended
for the installation of accessories.
DIRECT H EALTH C A RE GR OU P. C OM
7
