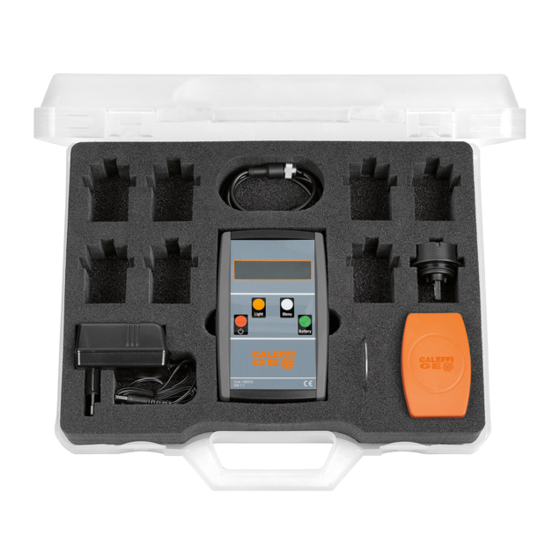
CALEFFI GE 130 Series 설치 및 시운전 매뉴얼 - 페이지 9
{카테고리_이름} CALEFFI GE 130 Series에 대한 설치 및 시운전 매뉴얼을 온라인으로 검색하거나 PDF를 다운로드하세요. CALEFFI GE 130 Series 18 페이지. Electronic flow rate meter for connection to vortex effect sensor

Technical specifications
Meter
Display:
alphanumeric with white backlighting
Minimum flow rate:
Maximum flow rate:
Maximum error:
Units of measurement available:
Mediums:
Weight:
Electric supply:
attery charge
Electric supply voltage:
Power consumption (max):
User Interface
1) Display showing flow rate
●
2) "ON/OFF" button
●
3) "Light" button
○
4) "Menu" button
●
5) "Battery" button
6) Sensor connection socket
7) Battery charger connection socket
The LCD display shows flow rate during measurement,
configuration menus and other information needed for the correct
use of the device.
To switch on the device, just press and hold the
words appear on the display. To switch the device off, just press
●
and hold the on button
until all words on the display disappear.
If no keys are pressed for 4 minutes, the device automatically
switches off even if the sensor is still connected: this prolongs the
life of the internal battery.
To extend battery life, a system has been included that switches
the device off after the Vortex sensor cable has been connected or
disconnected.
●
Pressing the "Light"
button switches on or off the display backlighting, enabling it to be used in dark places with no lighting. The backlighting
is switched off automatically after 1 minute to prolong battery life.
○
Pressing the
button opens and allows to browse the configuration menu. On exiting the menu page, it returns to the measurement display.
●
Pressing the
button from the measurement screen shows the status of the device's internal battery. To go back to the measurement screen,
●
press the
button again.
Switching on and taking measurements
When the device is switched on, an ID string is shown.
On switching the device on using the ON/OFF button, just press the "Menu" or "Battery" buttons to switch to measurement mode, where the current
flow rate read by the sensor is displayed. The sensor must be connected to the device in order to take a measurement.
When measurement is underway, the following appears on the display:
The flow rate symbol is shown followed by a number and the unit of measurement in square brackets. The type of medium is shown on the
second line of the display.
If the flow rate measured is too low (less than 300 l/h), if the sensor is not connected or inserted properly, the device will not be able to measure
correctly and a flow rate of 0 will be shown.
300 l/h
1400 l/h
±10%
l/h, l/min, GPM
water, glycol solutions (up to 50%)
220 g
internal 9V NiMh battery
230 V~50 Hz
●
on button until
Q = 610 [ l / h]
Dimensions
6 W
3
96
Light
Menu
Battery
Cod. 130010
IP 44
➅
➀
➂ ➃
Light
Menu
Battery
➁
➄
Cod. 130010
IP 44
➆
29
