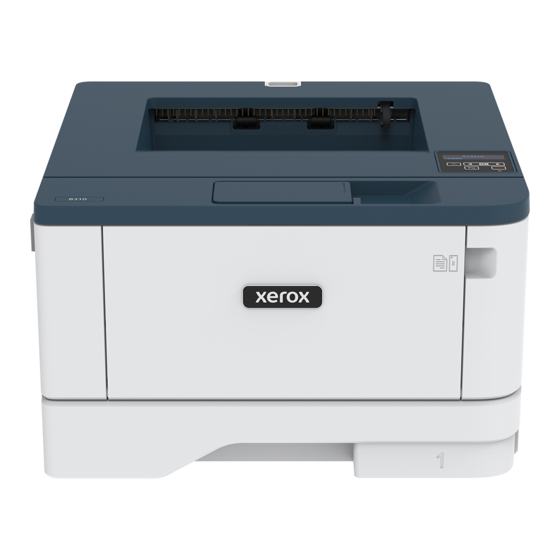
Xerox B310 빠른 참조 매뉴얼 - 페이지 2
{카테고리_이름} Xerox B310에 대한 빠른 참조 매뉴얼을 온라인으로 검색하거나 PDF를 다운로드하세요. Xerox B310 12 페이지.

3. Twist the blue latch, and then remove the used toner cartridge
from the imaging unit.
Warning—Potential Damage: Do not expose the imaging
unit to direct light for more than 10 minutes. Extended
exposure to light may cause print quality problems.
Warning—Potential Damage: Do not touch the
photoconductor drum. Doing so may affect the quality of
future print jobs.
4. Unpack the new toner cartridge.
5. Shake the toner cartridge to redistribute the toner.
6. Insert the new toner cartridge into the imaging unit until it clicks
into place.
7. Insert the imaging unit.
8. Close the door.
L L o o a a d d i i n n g g T T r r a a y y s s
1. Remove the tray.
Note:
printer is busy.
2. Adjust the guides to match the size of the paper that you are
loading.
3. Flex, fan, and align the paper edges before loading.
2
To avoid paper jams, do not remove the tray while the
