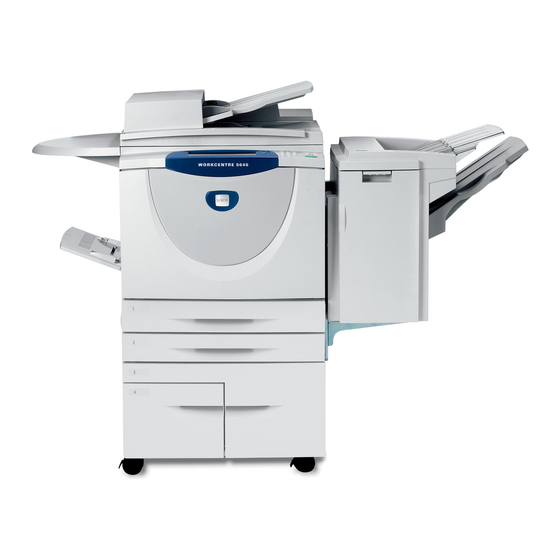
Xerox WORKCENTRE 5735 시작하기 매뉴얼 - 페이지 17
{카테고리_이름} Xerox WORKCENTRE 5735에 대한 시작하기 매뉴얼을 온라인으로 검색하거나 PDF를 다운로드하세요. Xerox WORKCENTRE 5735 32 페이지. Smart card
Xerox WORKCENTRE 5735에 대해서도 마찬가지입니다: 정보 매뉴얼 (50 페이지), 데이터시트 (18 페이지), 브로셔 및 사양 (8 페이지), 안전한 설치 및 운영 (11 페이지), 사용자 설명서 (8 페이지), 사용자 지침 (4 페이지), 사본을 만드는 방법 (10 페이지), 설치 매뉴얼 (43 페이지)

Sending a Fax
1.
Load your documents face up in the document feeder input tray. Adjust the guide to touch the
documents.
Or...........
Lift up the document feeder. Place the document face down onto the document glass and register
it to the arrow at the top right rear corner. Close the document feeder.
2.
Press the Clear All (AC) button once to cancel any previous screen programing selections.
3.
Press the Services Home button and select the Fax
option. The Fax features are displayed.
4.
Enter the recipient's fax number by:
•
Keypad Dial - select the Enter Number area on
the touch screen and enter the number using the
numeric keypad.
•
Manual Dial - if a telephone handset is attached
to the device, select the Manual Dial key and dial
the number using the handset or the numeric keypad.
•
Speed Dial - select the Enter Number area and enter the 3 digit speed dial number, then
select the Speed Dial option.
•
Address Book - select the Address Book button to access the fax address book. Select an
entry from the Address Book to add to the Recipient list. Continue adding recipients as
required and select Close to return to the previous screen.
5.
If required, select Add to add the number entered to the Recipient list. Enter additional numbers
as required. The fax will be sent to all the numbers in the Recipient list.
6.
Select the required features for your fax job using the touch screen:
Dialing Characters are alphanumeric characters which have a specific fax function and can be
entered as part of the fax number.
Cover Letter allows you to send a fax with a covering letter.
2-Sided Scanning is used to select whether your originals are 1-sided or 2-sided.
Original Type is used to define the original document as text, text and photo, photo or halftone
photo.
Resolution can be used to optimize the resolution settings.
7.
Press Start to scan the originals and process the fax job. Remove the originals from the document
feeder or document glass when scanning has completed.
Note:
The Fax job enters the job list ready for sending.
8.
Select Job Status to view the job list and check the status of your job.
For information about additional Fax features, refer to
Sending a Fax
WorkCentre™ 5735/5740/5745/5755/5765/5775/5790
Sending a Fax
on page 72 of Fax.
Getting Started
23
