Xerox WorkCentre 5765 시작하기 매뉴얼 - 페이지 20

{카테고리_이름} Xerox WorkCentre 5765에 대한 시작하기 매뉴얼을 온라인으로 검색하거나 PDF를 다운로드하세요. Xerox WorkCentre 5765 32 페이지. Smart card
Xerox WorkCentre 5765에 대해서도 마찬가지입니다: 보충 설명서 (1 페이지), 정보 매뉴얼 (50 페이지), 평가자 매뉴얼 (24 페이지), 데이터시트 (18 페이지), 정보 시트 (8 페이지), 안전한 설치 및 운영 (11 페이지), 사용자 지침 (5 페이지), 사용자 설명서 (8 페이지), 사본을 만드는 방법 (10 페이지), 설치 매뉴얼 (43 페이지)
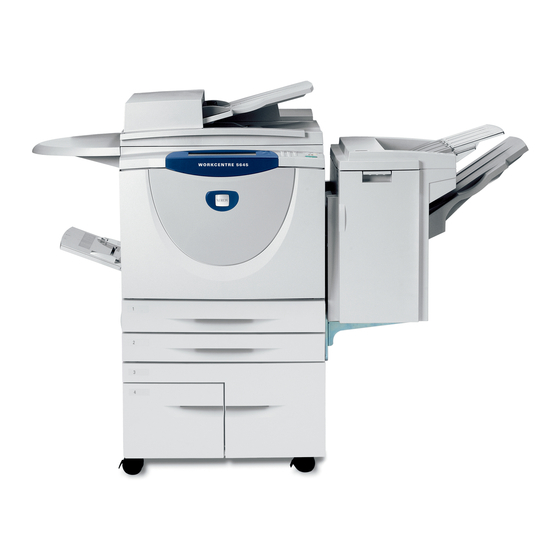
Xerox WorkCentre 5765 시작하기 매뉴얼

Sending a Fax from the PC

Sending a Fax from the PC
1.
Ensure that the correct Xerox print driver has been installed on your PC and the Fax from PC option
is available. To install the print drivers refer to the
2.
Open the document to be faxed. Click File > Print and select the Xerox device from the list of
printers displayed.
3.
Select the Properties button to display the print driver printing preferences.
4.
Select Fax as the Job Type on the Paper/Output
screen of the print driver.
The Fax screen will automatically open. This screen
displays the recipients for the current fax. You can
now Add Fax Recipients or Add From Phonebook.
5.
To add a new recipient select the Add Recipient button.
6.
Input the name and fax number of the recipient. Complete the
additional information.
Select the Save to Personal Phonebook option if you want to
add the recipient to your Personal Phonebook.
The Fax window has various tabs that contain options and
properties.
Use the Cover Sheet tab to add a covering letter to your
fax.
Use the Options tab to enable a confirmation sheet,
choose a specific send speed or select the resolution for
the fax. You can also select the Send Time option to enter a
specific time to transmit the fax.
7.
Choose the options required for your fax job and click OK to
send the document. Your fax will be submitted to the device job
list ready to be transmitted.
For information about additional Fax from PC features, refer to
Fax.
26
WorkCentre™ 5735/5740/5745/5755/5765/5775/5790
Getting Started
System Administrator
Fax from PC Options
Guide.
on page 111 of