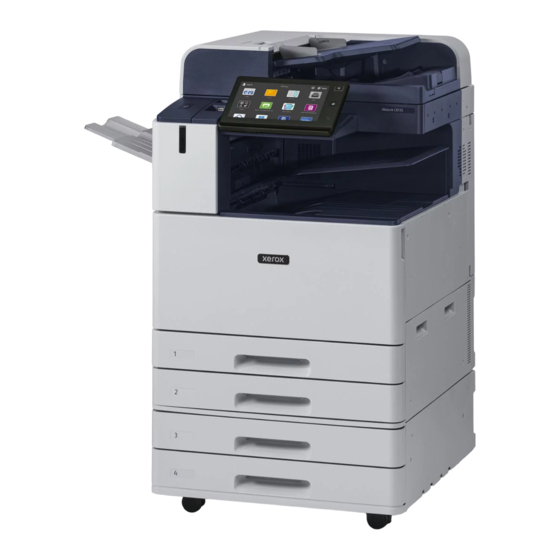
Xerox AltaLink C8155/H 매뉴얼 - 페이지 7
{카테고리_이름} Xerox AltaLink C8155/H에 대한 매뉴얼을 온라인으로 검색하거나 PDF를 다운로드하세요. Xerox AltaLink C8155/H 14 페이지. Color multifunction printer

3
For Email, touch Manual Entry,
type the email address using the
touch screen keypad, then touch
Add. To add more than one email
address to the list, touch Add
Recipient. To type a subject line
for the email, touch Subject. To
select saved email addresses, use
the Device Address Book or select
from Favorites.
4
Change the settings as needed, then touch Scan, or for Email,
touch Send.
2
Scanning and Emailing
For Workflow Scanning, touch
Default Public Mailbox, or insert
your USB Flash Drive.
For Scan To, touch a destination
type, then enter the appropriate
information. To add more than
one destination to the list, touch
Add Destination.
USB
Note: Settings from previous users remain
onscreen for a short time. To restore the
default settings in an app, scroll to the
bottom of the feature list, then touch Reset.
www.xerox.com/office/support
