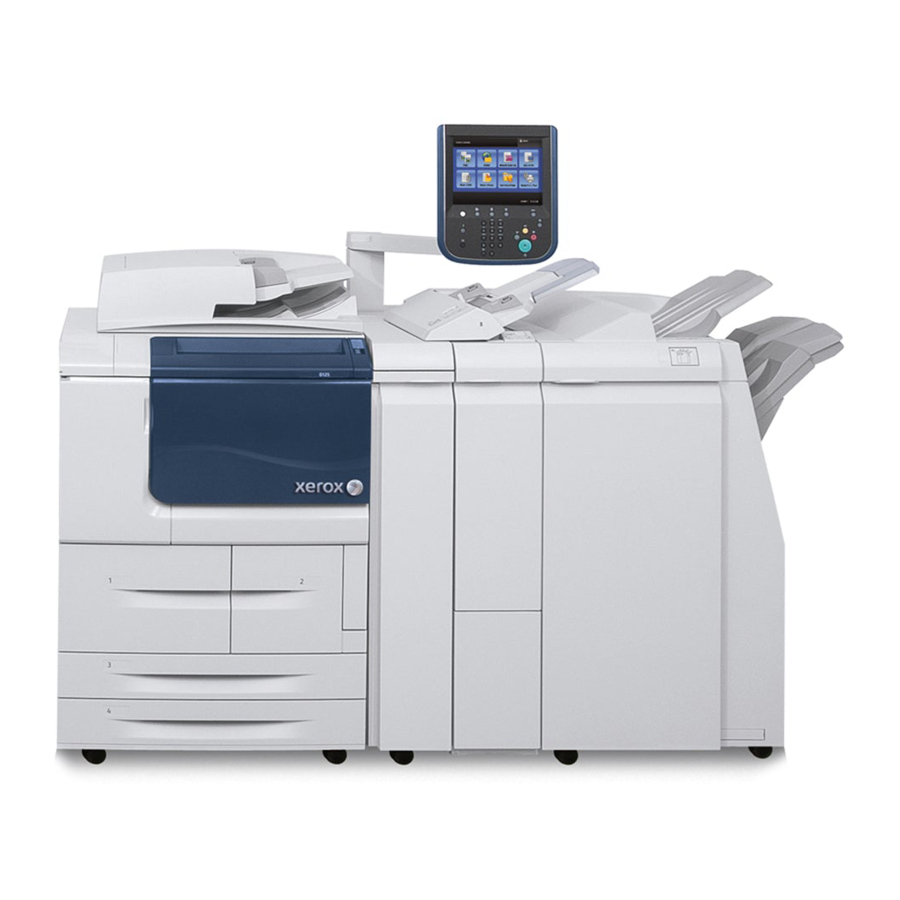
Xerox D125 설치 매뉴얼 - 페이지 7
{카테고리_이름} Xerox D125에 대한 설치 매뉴얼을 온라인으로 검색하거나 PDF를 다운로드하세요. Xerox D125 14 페이지. Printer and copier/printer
Xerox D125에 대해서도 마찬가지입니다: 세부 사양 (8 페이지), 사양 (8 페이지), 사양 (8 페이지), 사용자 설명서 (32 페이지)

a)
Select the Browse button.
b) Select Equitrac XCP Provider file and select the Open button.
c) Select the Upload button.
12. Select the Security folder.
13. In the Security folder, select Plug-in Settings.
14. In the Plug-in Settings folder, select List of Embedded Plug-ins (from the directory
tree).
15. Select the Upload button.
The Upload Plug-in page displays.
16. From the Upload Plug-in page perform the following:
a) Select the Browse button.
b) Select Libraries for Equitrac XCP Provider file and select the Open button.
c) Select the Upload button.
17. Reboot the machine.
a) Select the Status tab.
b) Select Reboot Machine.
A message displays asking: Do you want to reboot?
c) Select OK.
Checking the status of the embedded plug-ins
1. Open an internet web browser.
2. Enter the IP address of the machine in the address field.
3. Press Enter to go to CentreWare
4. Select the Properties tab.
5. If prompted, enter the system administrator user name and password.
The default user name is admin and the default password is 1111.
6. Select OK.
7. Select the Security folder.
8. In the Security folder, select Plug-in Settings.
9. In the Plug-in Settings folder, select List of Embedded Plug-ins (from the directory
tree).
10. Under the Status heading, check the status of the plug-ins.
The plug-ins should display Activated.
11. If the Status does not display Activated, select the Start button to activate the plug-in.
12. Ensure that the status for all embedded plug-ins displays Activated.
Deactivating the plug-ins
1. Open an internet web browser.
®
Xerox
D95/D110/D125 Printer and Copier/Printer
Xerox® Secure Access Installation Guide
Xerox Secure Access Installation Guide
®
Internet Services.
3
