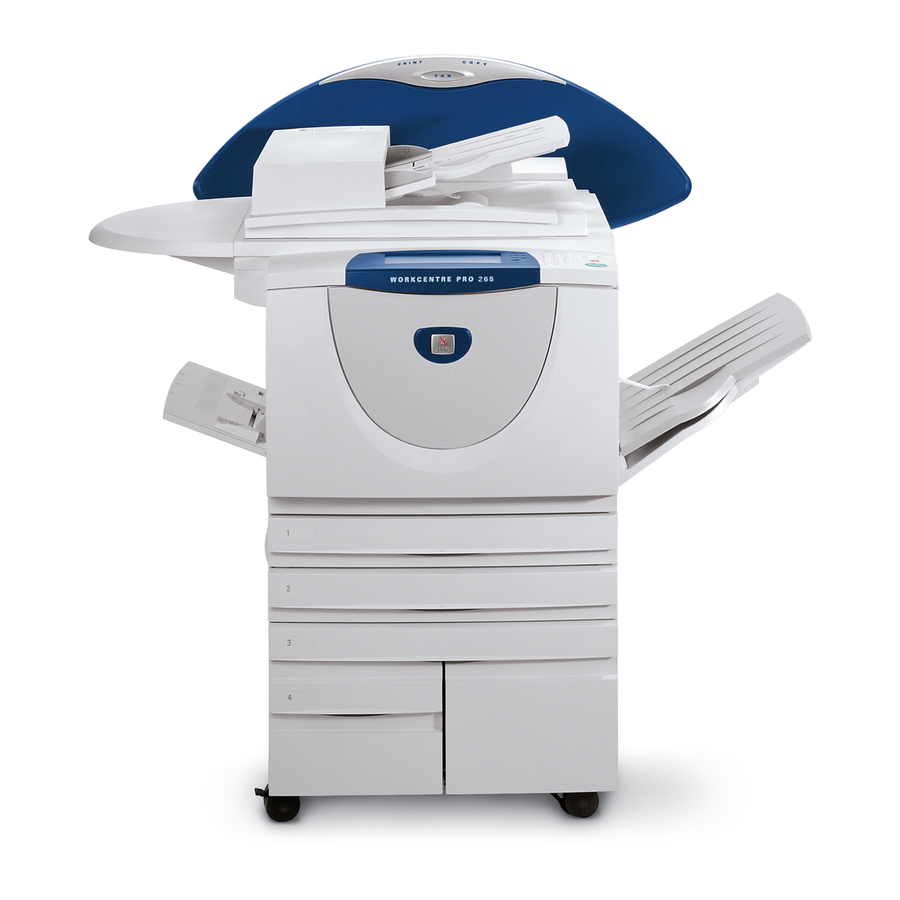
Xerox WorkCentre Pro 75 네트워크 설치 매뉴얼 - 페이지 33
{카테고리_이름} Xerox WorkCentre Pro 75에 대한 네트워크 설치 매뉴얼을 온라인으로 검색하거나 PDF를 다운로드하세요. Xerox WorkCentre Pro 75 42 페이지. Pdl reference guide
Xerox WorkCentre Pro 75에 대해서도 마찬가지입니다: 빠른 시작 매뉴얼 (16 페이지), 사용자 설명서 (24 페이지), 시스템 관리 매뉴얼 (30 페이지), 참조 매뉴얼 (22 페이지)

E-mail
Before You Start
Verify the Ethernet connection is complete and the
desired speed is set. Then return to this page.
In order for Scan to E-mail to work your printer must
have:
- E-mail and Network Scanning Installed
- Network Access
- TCP/IP Enabled
- System (TCP/IP) Domain Name
- Access to a functional SMTP Server
- Internet Services (HTTP) Enabled
SMTP Server IP Address or Host Name:
____________________________
LDAP Server IP Address or Host Name:
____________________________
Default Domain Name:
____________________________
For SMB: IP address or Host Name of the Primary
Domain Controller:
_____________________________
printer E-mail Address:
_____________________________
(see note on page 34 step 7)
Note: Internet Services (HTTP/IPP) and Scan to E-
mail must be enabled; if they are not enabled, per-
form the following steps. If they are enabled, skip to
step 15.
At the printer (for HTTP).
1.
Enter the Tools pathway.
a) Press the Access (
b) On the keypad enter 1111 or the current
password. Press the Enter button when
finished. The Touch Screen will be used for the
remainder of the data entry, unless instructed
otherwise.
2.
Enter the Network Setup menus
a) Wait for the screen to refresh and press the
Connectivity and Network Setup button.
b) Wait for the screen to refresh and press the
Network Setup button.
3.
Press the TCP/IP Options button.
or
) button.
4.
Press the HTTP/IPP button.
5.
Press the Enable button.
6.
Press the Save button.
7.
Press the Close button - 3 times.
Enable Scan to E-mail
8.
Select More.
9.
Select Configuration Setup.
10.
At the Warning Screen Select Close.
11.
Select Optional Services.
12.
Select E-mail.
13.
Select Enable.
14.
Select Save.
E-mail Authentication
15.
Select Authentication Mode
Note: The default for Network Authentication is:
Enabled. To deselect or to add Guest Authentica-
tion, follow these steps.
From the Tools pathway (Step 1, a and b):
a) Select More. (up to 2 times)
b) Select Service Access Control.
c) Select or deselect these items: Network
Authenticated Access and Guest Access.
Then, add Guest Passcode if needed.
d) Select Next.
e) Select Save.
f)
Select Exit Tools.
Note: If Network Authentication is deselected in
this step, you will not be able to select it again until
you complete the "Network Authentication Server"
steps.
At the workstation.
1.
Launch an Internet Browser
2.
Enter http:// followed by the IP Address of the
printer (e.g. http//xxx.xxx.xxx.xxx) Then select
the Enter key.
3.
At the CentreWare Internet Services Home Page
Select the Properties tab.
4.
Select the plus symbol (+) to the left of the
Connectivity folder.
33
604P16000
