Xerox WorkCentre 7132 설정 매뉴얼 - 페이지 8
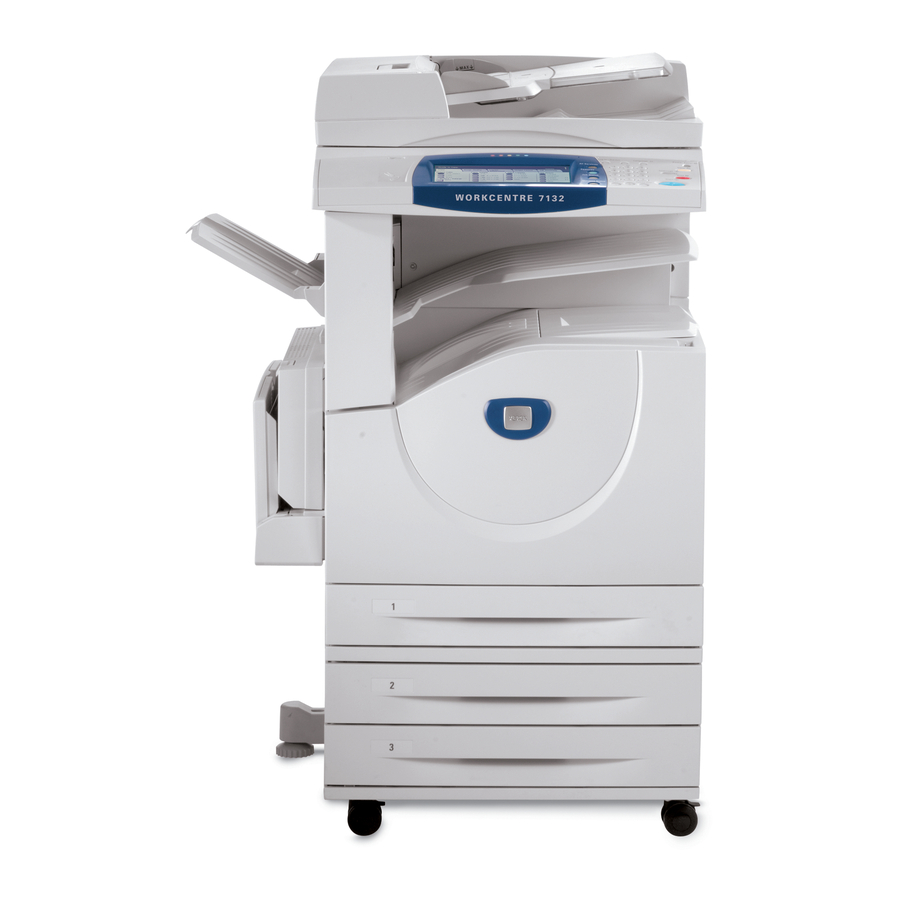
{카테고리_이름} Xerox WorkCentre 7132에 대한 설정 매뉴얼을 온라인으로 검색하거나 PDF를 다운로드하세요. Xerox WorkCentre 7132 10 페이지. Print copy scan fax email
Xerox WorkCentre 7132에 대해서도 마찬가지입니다: 빠른 사용 설명서 (32 페이지), 보충 설명서 (3 페이지), 종이 매뉴얼 (2 페이지), 평가자 매뉴얼 (24 페이지), 서비스 매뉴얼 (27 페이지)
f.
Select Apply.
Note
If prompted to enter a User Name and Password, the default settings are 11111
and x-admin respectively.
11.
Create a Template.
a.
Select the Template button.
b.
Select Create New.
c.
Enter a name for the template.
d.
Select Public for the Repository Type. The repository created above should
appear in the window.
Note
A private template does not require separate repository settings, since the routing
information is entered directly into the template itself.
e.
Select Next.
f.
Make selections as needed to define the properties of the scanned files created by
this template.
g.
Select OK.
Procedure for Network Scanning
1.
At the device select
2.
Select a template from the list. You can also change any other value from the control
panel without impacting the template configuration; only the current job will be
affected.
3.
Load a sample document into the document feeder.
4.
Press the green
as defined within the template.
5.
From a workstation, log on to the FTP or SMB Server. Navigate to the repository
(destination) that was specified earlier. Your scanned document is located in that folder.
Note
If remote authentication has been enabled, a separate login screen appears when
the Network Scanning feature is selected. Documents are not scanned unless the
remote authentication server authenticates user access.
Copyright © 2006, Xerox Corporation. All rights reserved.
All Services
and Network Scanning.
Start
button. The job is sent to the server using FTP or SMB protocol
Network Scanning Setup (Optional)
8