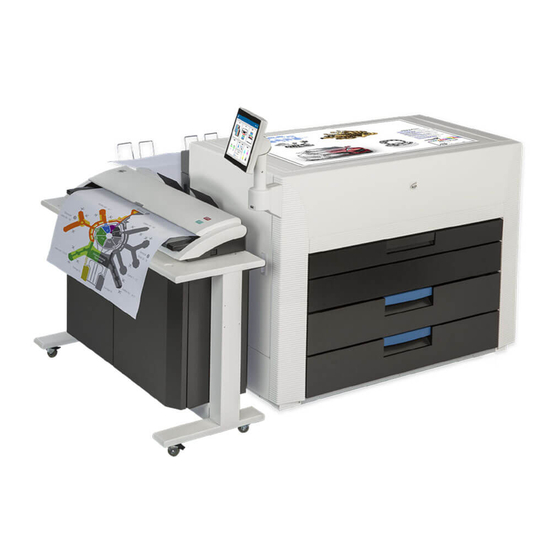
Xerox 980 힌트 및 팁 매뉴얼 - 페이지 17
{카테고리_이름} Xerox 980에 대한 힌트 및 팁 매뉴얼을 온라인으로 검색하거나 PDF를 다운로드하세요. Xerox 980 24 페이지. Continuous feed printing system

Xerox 490/980 Color Continuous Feed Printing System
Path from Main Menu
Printer Manager/
Consumables/Smoke
Filter Replacement
Printer Manager/
Consumables/Smoke
Filter Replacement
Printer Manager/
Consumables/Smoke
Filter Replacement
Printer Manager/
Consumables/Smoke
Filter Replacement
Printer Manager/
Consumables/Smoke
Filter Replacement
Printer Manager/
Consumables/Kit A
(Black) Replace
Printer Manager/
Consumables/Kit A
(Black) Replace
Printer Manager/
Consumables/Kit A
(Black) Replace
Printer Manager/
Consumables/Kit A
(Black) Replace
Printer Manager/
Consumables/Kit A
(Black) Replace
Hints and Tips User Guide
Present
Required Change
*You can replace the
Step 2:
Smoke Filter during
re-write bullets as follows:
printing.
*The Smoke Filter can
*Either the right or left
be replaced during
indicator is lit.
printing operation,
when either the right or
left indicator is lit.
5.There is black packing
Step 5:
of new Smoke Filter (d)
Smoke Filter (d) with
up, and it inserts it in
the arrow pointing
the box. *Confirm the
Add warning symbol with
label to avoid putting it
the following text:
upside down.
installing the Smoke
Filter, ensure that the
arrow on the label is
pointing up.
Step 6:
interior
machine
Step 7: Close the smoke
Step 7: Close the smoke
door, move the lever (b)
filter
to the lock position.
lever (b) to the lock
position.
*Refer to "End
Step 8: re-write bullet as
procedure of 4.3.3
follows:
articles of consumption
*Dispose the old smoke
exchange" for the end
filter as industrial waste.
procedure of the articles
of consumption
exchange
Step 1:
cover
door
Step 2: Open the toner
Step 2: Open the bag
filter box door (b).
filter door (b).
frontward, then
Step 3:
4. Holding the toner
4. Grasp the bag filter (e)
filter (e) on both sides,
on both sides and
pull it out frontward.
remove.
*After removing the
Re-write bullets as
toner filter, wipe out
follows:
remaining dust and spilt
*Clean dust and spilled
toner.
toner.
then
Step 5:
and
Comments
Install the new
up.
When
door
and
move the
Same change for
all Kit A colors
Same change for
all Kit A colors.
forward and
Same change for
all Kit A colors.
Same change for
all Kit A colors.
Same change for
all Kit A colors
Hints and Tips
1-13
