Xerox Phaser 7750B 사용자 설명서 - 페이지 25

{카테고리_이름} Xerox Phaser 7750B에 대한 사용자 설명서을 온라인으로 검색하거나 PDF를 다운로드하세요. Xerox Phaser 7750B 35 페이지. Color laser printer imaging unit/fuser/transfer roll/accumulator belt/belt cleaner assembly/staple pack/1500-sheet lower tray deck/ 2500-sheet high-capacity feeder/upgrade kit/printer cart/
Xerox Phaser 7750B에 대해서도 마찬가지입니다: 사양 (4 페이지), 소유자 매뉴얼 (4 페이지), 사양 (2 페이지), 보충 설명서 (5 페이지), 매뉴얼 (5 페이지), 보충 설명서 (2 페이지), 설치 매뉴얼 (33 페이지)
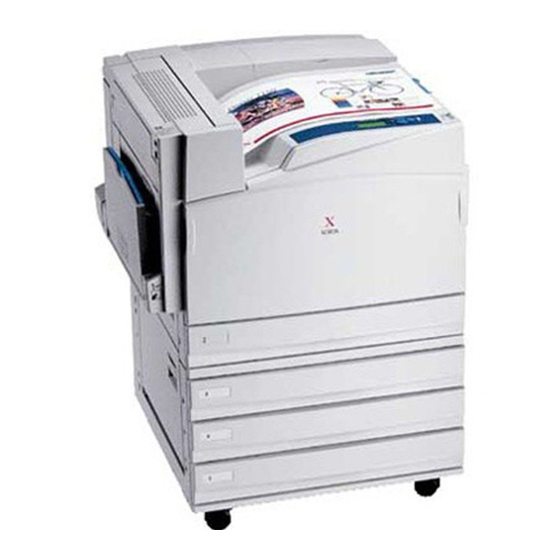
Xerox Phaser 7750B 사용자 설명서
Managing Custom
TekColor Corrections
Use Download Profile to manage the custom color corrections associated with a Phaser 7760,
Phaser 7750, or Phaser 7700 printer.
Managing TekColor Corrections on a Phaser 7760
or Phaser 7750 Printer
When using a Phaser 7760 or 7750 printer, the Download Profile button is used to download
the custom TekColor corrections to the printer. This functionality can create new custom
TekColor corrections from existing device link profiles. After selecting a device link profile,
PhaserMatch displays the Send a Color Correction to the Printer screen. For more information,
see
Sending a Custom TekColor Correction to the Printer Screen
used to send a custom TekColor correction to the printer. You can also delete custom TekColor
corrections created in PhaserMatch 4.0.
Managing TekColor Corrections on a Phaser 7700
Printer
When using a Phaser 7700 printer under a Macintosh operating system, the Download Profile
button is used to manage the custom TekColor corrections associated with a printer driver.
This functionality can be used to generate new color corrections from existing device link
profiles. After selecting a device link profile, PhaserMatch displays the Send a Color
Correction to the Driver screen. This screen is used to add a new custom color correction to the
printer driver or to delete a custom color correction from the driver installed on the particular
computer being used. You can also delete custom TekColor corrections created in
PhaserMatch 4.0.
PhaserMatch and PhaserCal 4.0 User Guide
6-1
on page 3-3. This screen is