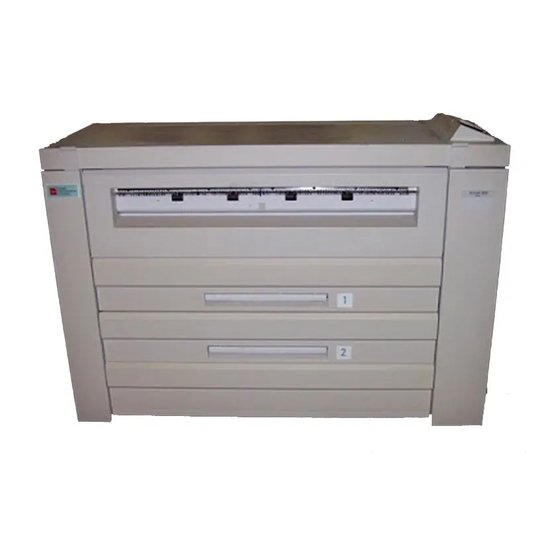
Xerox Synergix 8850 고객 교육 매뉴얼 - 페이지 42
{카테고리_이름} Xerox Synergix 8850에 대한 고객 교육 매뉴얼을 온라인으로 검색하거나 PDF를 다운로드하세요. Xerox Synergix 8850 50 페이지. Windows nt 4.0 postscript print driver user guide
Xerox Synergix 8850에 대해서도 마찬가지입니다: 설정 매뉴얼 (20 페이지), 릴리스 노트 (23 페이지), 릴리스 노트 (8 페이지), 소프트웨어 설명서 (30 페이지)

38
For the WIDE FORMAT PRINT SYSTEMS
8825/8830/8850/ 510 DP:
On the printer Control Panel, press the
button to take the printer off line. Press the
Enter button. Go through the menu choices to
select Setup IO Ports, Ethernet TCP/IP,
TCP/IP Address, Gateway, and Mask.
Connecting to the printer and scanner
Select the Device Manager tab.
Click on the Device Name of the FreeFlow Accxes-
compliant printer with which you want to communicate
from your PC.
To the right of the selected Device Name, click in the
Default Printer and Default Scanner columns to
select the default printer and scanner to be used by
the Client Tools.
If your devices are not listed, select the
Create a new device toolbar button. At the bottom of
the screen, type in a name that you will recognize for
the device and its IP address.
Select the Accept the device parameters
toolbar button to save it in your device list, then select
it as the default.
Logging media usage accounting data
To use the accounting feature, your printer needs to
have an accounting license. The Account Mode also
needs to be set to "Optional" or "Enabled" on the
printer or scanner.
Go to the Device Manager tab's Printer Identification
section at the bottom of the screen. Notice the
Firmware version for the selected device. If the
information is not present, select the ID toolbar button
for the Device Manager Tool to get that information
from the printer.
If your Client Tools are connected to a printer that is
using firmware version 7.0 or greater, an External
Accounting Server, such as the FreeFlow Accxes
Account Management Tool (AMT), will be keeping
FreeFlow Accxes Software Tools Training Guide
