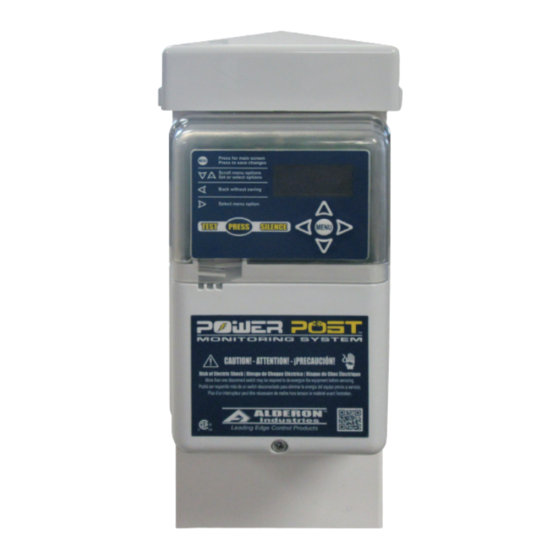
Alderon Industries Power Post PPCP Series 빠른 시작 매뉴얼 - 페이지 3
{카테고리_이름} Alderon Industries Power Post PPCP Series에 대한 빠른 시작 매뉴얼을 온라인으로 검색하거나 PDF를 다운로드하세요. Alderon Industries Power Post PPCP Series 4 페이지.

2.0 | Main Menu - Resettable History
From the RESETBLE HISTORY screen,
press right arrow key to access the menu for
event statistics and then press down arrow
key for the available events within this menu.
2.1
Pump Run Stats
2.2
Extended Pump Run Stats
2.3
High Amp Stats
2.4
Pump Float Stats
2.5
Relay Stats
2.6
Dose On Stats*
2.7
Peak On Stats*
2.8
High Level Alarm Stats
2.9
Filter Alarm Stats
2.10
Pump Fail Stats
2.11
Relay Fail Stats
2.12
System Fail Stats**
2.13
Power Loss Stats
Press right arrow key for the individual
stats of each event type listed above and
data stored in the system. Each resettable
history event stat has a clear history
function. The non-volatile memory allows all
settings and statistics to be retained during
power outages.
Note: The down arrow key will cycle through
all the resettable history menu options until
a specific option is selected using the right
arrow key as displayed on the screen. Press
the left arrow key to exit from any screen.
Press the test/silence pushbutton to exit the
menu system.
(*) Indicates Timed Dosing only
(**) Indicates Demand Dosing only
3.0 | Main Menu - Settings Part II
Right arrow key from SETTINGS screen for menu, down arrow key to scroll.
3.8
Dose Setting (factory set to Timed Dosing)
i. Demand Dose?, press MENU for Demand Dose
ii. Timed Dose?, press MENU for Timed Dose
3.9
Float Setting** (factory set to Float Input)
i. In-line Float?, press MENU for In-line Float
ii. Float Input?, press MENU for Float Input
3.10
Dose Off Time Setting* (factory set to 10 seconds)
i. The current setting will appear on the screen
ii. Up or down arrow, increase/decrease selected digit
iii. Right arrow, moves cursor to the right (blinking)
iv. Press MENU to save changes; press left arrow to exit
3.11
Dose On Time Setting* (factory set to 5 seconds)
i. The current setting will appear on the screen
ii. Up or down arrow, increase/decrease selected digit
iii. Right arrow, moves cursor to the right (blinking)
iv. Press MENU to save changes; press left arrow to exit
3.12
Peak Off Time Setting* (factory set to 10 seconds)
i. The current setting will appear on the screen
ii. Up or down arrow, increase/decrease selected digit
iii. Right arrow, moves cursor to the right (blinking)
iv. Press MENU to save changes; press left arrow to exit
3.13
Peak On Time Setting* (factory set to 5 seconds)
i. The current setting will appear on the screen
ii. Up or down arrow, increase/decrease selected digit
iii. Right arrow, moves cursor to the right (blinking)
iv. Press MENU to save changes; press left arrow to exit
3.14
Minimum Peak Dose Cycles Setting* (factory set to 1)
i. The current setting will appear on the screen
ii. Up or down arrow, increase/decrease selected digit
iii. Right arrow, moves cursor to the right (blinking)
iv. Press MENU to save changes; press left arrow to exit
CAUTION: Alderon™ recommends changing factory settings to customize the
system per application for desired operation.
3.0 | Main Menu - Settings Part I
Right arrow key from SETTINGS screen for menu, down arrow key to scroll.
3.1
Password (factory set to 1919)
i. Password 0000 will appear on the screen
ii. Up or down arrow, increase/decrease selected digit
iii. Right arrow, moves cursor to the right (blinking)
iv. Press MENU to accept password; press left arrow to exit
vi. Incorrect entry will exit user to the settings menu
Note: To change password, use up/down arrows until password screen reappears,
then enter numeric values between 0000-9999, press MENU to save.
3.2
Normal LED Setting (factory set to LED On)
i. Normally LED Off?, press MENU to turn LED off
ii. Normally LED On?, press MENU to turn LED on
3.3
Pump Run LED Setting (factory set to LED On)
i. Pump Run LED Off?, press MENU to turn LED off
ii. Pump Run LED On?, press MENU to turn LED on
3.4
Silence Time Setting (factory set to 24 hours)
i. The current setting will appear on the screen
ii. Up or down arrow, increase/decrease selected digit
iii. Right arrow, moves cursor to the right (blinking)
iv. Press MENU to save changes; press left arrow to exit
3.5
Extended Pump Run Time Setting (factory set to 30 minutes)
i. The current setting will appear on the screen
ii. Up or down arrow, increase/decrease selected digit
iii. Right arrow, moves cursor to the right (blinking)
iv. Press MENU to save changes; press left arrow to exit
3.6
High Amp Level Setting (factory set to 15 Amps)
i. The current setting will appear on the screen
ii. Up or down arrow, increase/decrease selected digit
iii. Right arrow, moves cursor to the right (blinking)
iv. Press MENU to save changes; press left arrow to exit
3.7
Gallons Per Minute Setting (factory set to Zero)
i. The current setting will appear on the screen
ii. Up or down arrow, increase/decrease selected digit
iii. Right arrow, moves cursor to the right (blinking)
iv. Press MENU to save changes; press left arrow to exit
3.15
End Dose Setting* (factory set to Stop Dose)
i. Finish Dose?, press MENU for Finish Dose
ii. Stop Dose?, press MENU for Stop Dose
3.16
Buzzer Delay* (factory set to 20 seconds)
i. The current setting will appear on the screen
ii. Up or down arrow, increase/decrease selected digit
iii. Right arrow, moves cursor to the right (blinking)
iv. Press MENU to save changes; press left arrow to exit
(*) Indicates Timed Dosing only OR (**) Indicates Demand Dosing only
OR
OR
OR
OR
OR
