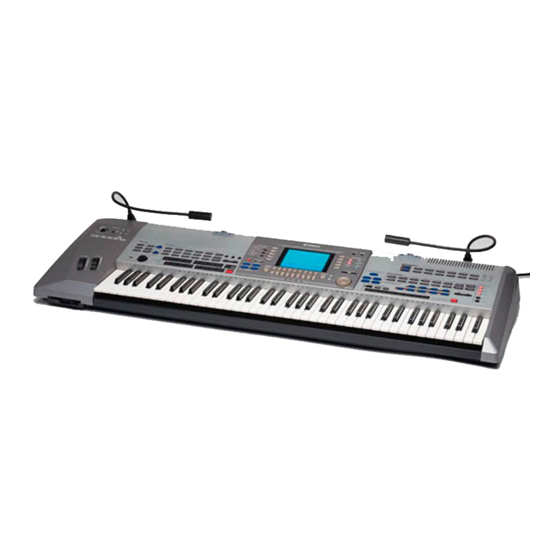
Yamaha 9000 Pro 소유자 매뉴얼 - 페이지 9
{카테고리_이름} Yamaha 9000 Pro에 대한 소유자 매뉴얼을 온라인으로 검색하거나 PDF를 다운로드하세요. Yamaha 9000 Pro 35 페이지. Professional workstation
Yamaha 9000 Pro에 대해서도 마찬가지입니다: 서비스 매뉴얼 (20 페이지)

4. The New Features
New Split Points ...................................................
Previous versions of the operating system allowed one split point to be specified to separate the
auto-accompaniment/left-hand section and the right-hand section of the keyboard. The new operat-
ing system allows three split points:
G ACMP SPLIT POINT
Separates the auto-accompaniment section of the keyboard from the left- and right-hand
sections.
G LEFT SPLIT POINT
Separates the left- and right-hand sections of the keyboard.
G RIGHT 3 SPLIT POINT
Allows a separate split point to be specified for the R3 voice. This means that you could,
for example, assign only the top octave of the keyboard to a percussion or sound-effect
voice.
Access: [FUNCTION] ➔ SPLIT POINT/FINGERING
Use the appropriate LCD buttons to set the split points as required, or use the DIRECT SETTING
functions to directly specify the corresponding split point via the keyboard.
• The "A" (ACMP) split point cannot be set higher than the "L" (LEFT) or "R" (RIGHT 3) split point, and vice
versa. In the same way the "R" split point cannot be set lower than the "L" or "A" split point.
• When the "L" and "A" split points are set at different keys, the LEFT voice can be played between the "L"
and "A" split points when the Auto Accompaniment function is on. When the "L" and "A" split points are set
to the same key, the LEFT voice can be played anywhere to the left of the "L" and "A" split points.
You can set the split points by
pressing the desired key while
holding the corresponding
LCD button.
9
