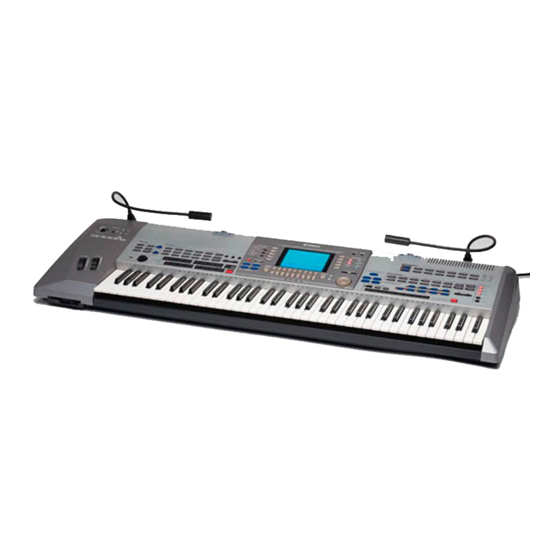
Yamaha 9000 Pro 서비스 매뉴얼 - 페이지 18
{카테고리_이름} Yamaha 9000 Pro에 대한 서비스 매뉴얼을 온라인으로 검색하거나 PDF를 다운로드하세요. Yamaha 9000 Pro 20 페이지. Professional workstation
Yamaha 9000 Pro에 대해서도 마찬가지입니다: 소유자 매뉴얼 (35 페이지)

9000 Pro
5
Turn over the Plug-in board/Hard disk cover.
Plug-in board stand
6
Attach the Plug-in Board to the Plug-in board stand. ...........................
6
-[1] Remove the four screws from the Plug-in stand with a Phillips
screwdriver. Do not remove the other screws.
6
-[2] Attach the Plug-in board to the Plug-in board stand using the
four screws removed in the previous step (6-[1]).
If you are installing a second board, go on to step #7 below. If you are installing only
one board, go on to step #8.
7
As required, attach another Plug-in board to the Plug-in board stand . ....
7
-[1] Remove the four screws from the Plug-in stand and remove the
Plug-in stand from the cover. Do not remove the other screws.
Plug-in board stand
7
-[2] Attach another Plug-in board by turning over the Plug-in board stand
and using the same operations in steps 6-[1] and 6-[2].
When turning over the board, let it rest on a soft surface.
Plug-in board stand
7
-[3] Attach the Plug-in board stand to the Plug-in board/Hard disk cover with
the four screws removed in step 7-[1].
Plug-in Board (second board)
18
Plug-in board
This is the location for the Hard disk
unit. (See page 19.)
Plug-in board/Hard disk cover
Gold color screws
(Bonding tapping screw-B 3.0X6 MFZN2Y (V6770800))
Gold color screws
(Bonding tapping screw-B 3.0X6 MFZN2Y (V6770800))
Plug-in board connector
Gold color screws
(Bonding tapping screw-B 3.0X6 MFZN2Y (V6770800))
Gold color screws
(Bonding tapping screw-B 3.0X6 MFZN2Y (V6770800))
Gold color screws
(Bonding tapping screw-B 3.0X6 MFZN2Y (V6770800))
Plug-in board/Hard disk cover
Plug-in Board (first board)
First board
Second board
