Yamaha Acoustic 설치 매뉴얼 - 페이지 8
{카테고리_이름} Yamaha Acoustic에 대한 설치 매뉴얼을 온라인으로 검색하거나 PDF를 다운로드하세요. Yamaha Acoustic 11 페이지. Yamaha acoustic guitar-accessory: supplementary guide
Yamaha Acoustic에 대해서도 마찬가지입니다: 소유자 매뉴얼 (1 페이지), 사용자 설명서 (35 페이지), 보충 설명서 (32 페이지)

6 The installation starts. If the driver has already been installed, the following
message appears. To return to step 3, press [Continue]. To complete the
installation, click [Quit].
7 When the installation is complete, the system displays the following
message: "Installation was successful. You have installed software which
requires you to restart your computer." Click [Restart]. The computer
automatically restarts. You can locate the installed files in the following
locations:
• System Folder | Control Panels | YAMAHA USB MIDI Patch
• System Folder | Extensions | USB YAMAHA MIDI Driver
• System Folder | OMS Folder | YAMAHA USB MIDI OMS Driver
8
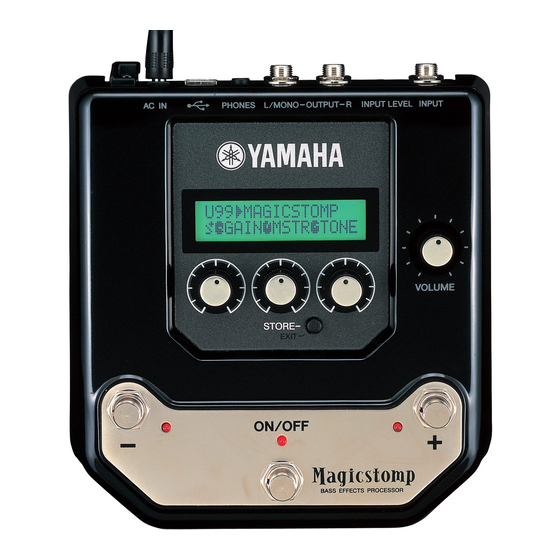
SOFTWARE for MAGICSTOMP
Installation Guide
Installing the Sound Editor for
MAGICSTOMP
• • • • • • • • • • • • • • • • • • • • • • • • • • • • • • • • • • • • • • • • • • • • • • • • • • • • • • • • • • •
1 Start the computer.
2 Insert the included CD-ROM into the CD-ROM drive. The system displays
the CD-ROM icon on the desktop.
3 From the CD-ROM → "International" folder → "Tools" folder → double-
click on the "SoundEditorForMAGICSTOMPe.sea" folder.
The file expands and the "Install Location" box displays the destination of
the installation.
4 Select the destination for installation and click the "Install" button.
Installation of the Sound Editor for MAGICSTOMP is now complete.
