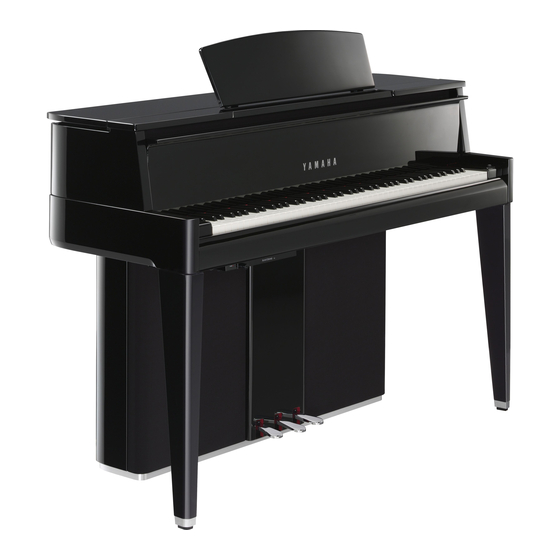
Yamaha AvantGard N2 유지 관리 핸드북 - 페이지 43
{카테고리_이름} Yamaha AvantGard N2에 대한 유지 관리 핸드북을 온라인으로 검색하거나 PDF를 다운로드하세요. Yamaha AvantGard N2 45 페이지. Hybrid piano

N1 ARM UPPER ASSEMBLY REPLACEMENT PROCEDURE
* The following instructions describe the replacement of the arm upper assembly L.
Replacement of the arm upper assembly R is performed in the same way.
1)
Remove the top board unit.
2)
Remove the key cover unit.
3)
Remove the front board assembly.
4)
Remove the four (4) screws marked [S14]. (Fig. 1)
Remove the three (3) screws marked [S2E] holding the
arm upper assembly L and the back rail from the back
board angle. Remove the arm upper assembly L with the
back board angle still attached to the back rail side. (Fig. 1)
* When removing and attaching the arm upper
assembly L during servicing, the back board angle
references the installation position of the arm upper
assembly L.
When removing the arm upper assembly L, never
remove the back board angle from the back rail.
Replace the arm upper assembly L with a new service
part.
* The arm upper assembly L service part does not
include back board angle.
<Side view>
ARM LOWER ASSEMBLY L
[S14]
159.6 mm±0.5 mm
5)
Install the arm upper assembly L. At this time, make sure
the distance between the front of the arm lower assembly
L and the front of the arm upper assembly L is 159.6 mm
± 0.5 mm. (Fig. 1)
6)
Install the front board assembly. At this time, do not
secure the protect cover to the front board assembly.
7)
Perform step (10) of "Key Cover Replacement
Procedure".
ARM UPPER ASSEMBLY L
[S14]
Fig. 1
[S2E]
BACK RAIL
N1
43
