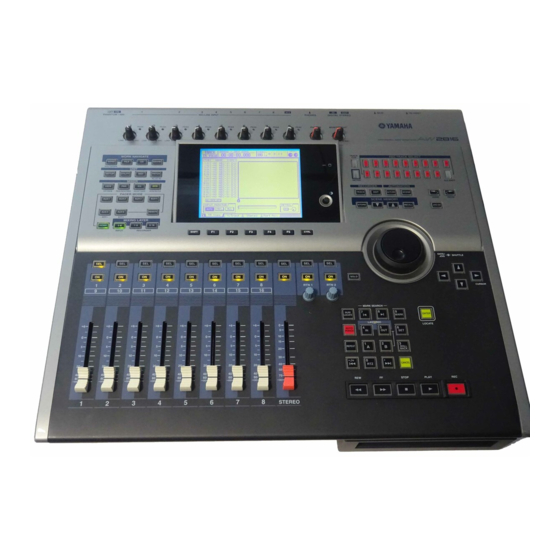
Yamaha AW2816 튜토리얼 - 페이지 6
{카테고리_이름} Yamaha AW2816에 대한 튜토리얼을 온라인으로 검색하거나 PDF를 다운로드하세요. Yamaha AW2816 31 페이지. Professional audio workstation, recording101
Yamaha AW2816에 대해서도 마찬가지입니다: 운영 매뉴얼 (2 페이지), 업데이트 매뉴얼 (2 페이지), 매뉴얼 (32 페이지)

Was the sound recorded correctly? If the sound is dis-
torted or cracked, adjust the gain control and try the
recording once again. If the sound was recorded on
the hard disk in a distorted condition, it will be impos-
sible to fix it later.
You should also pay close attention to the position of
the mics. Changing the direction of the mics and their
distance from the instrument makes an amazing
amount of difference in the recorded sound. Since the
AW2816 lets you re-record as many times as you like,
try various mic settings until you are happy with the
recorded sound you get. It is also useful to read maga-
zines and watch what other people do, but unless you
are an experienced professional recording engineer, it
is difficult to put up mics in the "perfect" location
without some trial and error. We recommend that you
refer to professional publications, and try various
experiments with the AW2816.
Recording the sound of a rhythm
machine
As an alternative to the preceding example, here's
how a rhythm section created on a rhythm machine
with built-in sequencer functionality can be recorded
on the AW2816. Although you could simply press the
PLAY button of the rhythm machine at the same time
you begin recording, nearly all rhythm machines
these days support MTC or MIDI Clock, so let's try
synchronizing the AW2816 with your rhythm
machine. In this example, we will use the AW2816 as
the MTC or MIDI Clock master, and make the rhythm
machine follow it.
First press [MIDI], and then [F1] to access the MIDI
Setup 1 screen. Make sure that MTC SYNC is set to
MASTER. Next, make sure that your rhythm machine
is able to receive MTC or MIDI Clock messages and
operate in synchronization. (On your rhythm
machine, this may be a setting named SYNC, or
something similar.) The settings and connections will
differ depending on which type of message is used for
synchronization.
If you are using MTC, use a MIDI cable to connect the
AW2816's MTC OUT connector to your rhythm
machine's MIDI IN connector (or its MTC IN connec-
tor, if there is on).
If you are using MIDI Clock, press [F2] to access the
MIDI Setup 2 screen. Turn the MIDI CLK setting ON,
set MIDI/HOST to MIDI, and set OUT/THRU to OUT.
For each of these, move the cursor to the setting, and
press [ENTER] to change the setting. Then use a MIDI
cable to connect the AW2816's MIDI OUT connector
to the MIDI IN connector of your rhythm machine. If
you are using MIDI Clock, you will also need to make
tempo settings as explained below.
Next, change the settings on your rhythm machine so
that it will operate in synchronization to MTC or MIDI
Clock, and put the rhythm machine in a mode in
which it will wait for synchronization messages to
arrive. Now when you press the AW2816's PLAY but-
ton, the rhythm machine should begin operating in
synchronization. Did it work? In the case of MTC, a
parameter called "Frame Rate" must also be set to the
same setting on both devices, so refer to the
AW2816's "Owner's Manual" and the manual of your
rhythm machine, and check this setting as well.
What is tempo data on the
AW2816
On the AW2816, tempo data is maintained indepen-
dently for each song. When a new song is created, it
will be set to a time signature of 4/4 and a tempo of
120. If you want to change this, or if you want the
time signature or tempo to change during the song,
press [SONG] and then press [F4] to access the Tempo
Map screen. of the two frames, the left one is the time
signature (METER), and the right is the tempo
(TEMPO). To try this out, move the cursor to NEW in
the TEMPO area, and press [ENTER]. A second tempo
data will be created. Now try changing the STEP 2 set-
tings MEASURE to 5, and TEMPO to 130.0. With these
settings, the tempo will be at the STEP 1 value (120)
for the first four measures, and will change to 130 at
measure 5.
If your rhythm machine has only a connector that
transmits MTC, or if you have already input detailed
tempo data into your rhythm machine and it's too
much work to re-specify it for the AW2816, refer to
the AW2816's "Owner's Manual" and set it to operate
as a MTC slave.
Now that we have made the two devices operate in
synchronization, we are ready to record. Connect the
audio outputs of the rhythm to the inputs of the
AW2816, make sure that the sound is being input cor-
rectly, and then record. You can preserve a wider
range of mixdown options if you record separate
sounds from your rhythm machine on separate tracks
of the AW2816, so being mindful of the eventual
structure of your song, do this if you will have enough
recording tracks on the AW2816.
Tutorial
5
