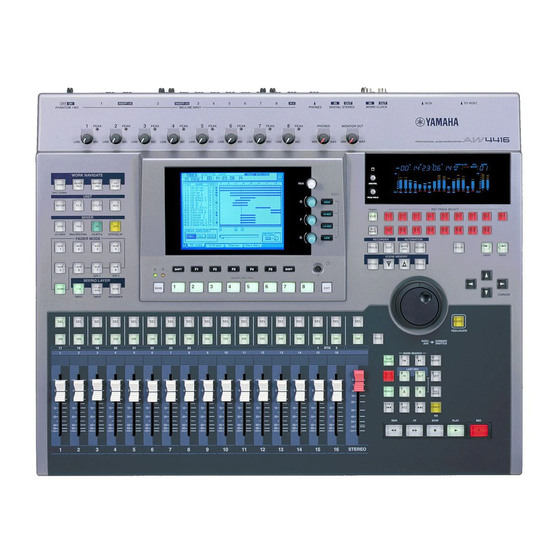
Yamaha AW4416 매뉴얼 보충 자료 - 페이지 17
{카테고리_이름} Yamaha AW4416에 대한 매뉴얼 보충 자료을 온라인으로 검색하거나 PDF를 다운로드하세요. Yamaha AW4416 48 페이지. Installing an internal hard disk
Yamaha AW4416에 대해서도 마찬가지입니다: 보충 설명서 (1 페이지), 튜토리얼 (34 페이지), 보충 설명서 (20 페이지), 매뉴얼 (3 페이지)

Assigning a MIDI message to an
[ON] key
You can assign a desired MIDI message to an [ON]
key so that the message will be transmitted when you
press the key.
As an example, we will explain how you can use a
sustain pedal connected to your synthesizer to assign
a Hold-on message (control change #64 with a value
of 127) and Hold-off message (control change #64
with a value of 0) to [ON] key 1 of the Remote A 1-8
page.
1
Connect a sustain pedal to your synthe-
sizer, the MIDI OUT/THRU connector of
the AW4416 to the MIDI IN connector of
your synthesizer, and the MIDI IN connec-
tor of the AW4416 to the MIDI OUT con-
nector of your synthesizer.
• In the MIDI Setup 1 page, make sure that the ECHO
button in the CONTROL CHANGE area is turned
off. If the ECHO button is turned on, control
changes received from the external device will be
re-transmitted back to the external device, causing
malfunctions.
• In the MIDI Setup 2 page, make sure that the MIDI
OUT/THRU switch is set to OUT.
• The TX, RX, and OMNI buttons in the CONTROL
CHANGE area of the MIDI Setup 1 page will not
affect MIDI Remote operations.
MIDI IN
PROFESSIONAL AUDIO WORKSTATION
connector
AW4416
MIDI OUT/THRU
connector
2
Press the [MIDI] key.
3
Hold down the [SHIFT] key and press the
[F1] key to access the REMOTE screen.
Sustain pedal
MIDI OUT
connector
MIDI IN
MIDI keyboard
connector
Version 2.0 Manual Supplement
4
Press one of the [F1]–[F4] keys to display
the fader/[ON] key to which you want to
assign a MIDI message.
The Remote A 1-8 page is selected in this exam-
ple.
5
Press the [SEL] key for the channel to
which you want to assign a MIDI message.
The display area will show the MIDI messages
that are currently assigned to the fader and [ON]
key of that channel.
6
Move the cursor to the LEARN button
located above the message display area
([ON] key), and press the [ENTER] key.
Tip!
• If more than one MIDI message is received while
the LEARN button is on, the last-received MIDI mes-
sage will be used.
• By holding down the [SHIFT] key and pressing the
[F3] key, you can directly switch the [ON] key
LEARN button on/off.
17
