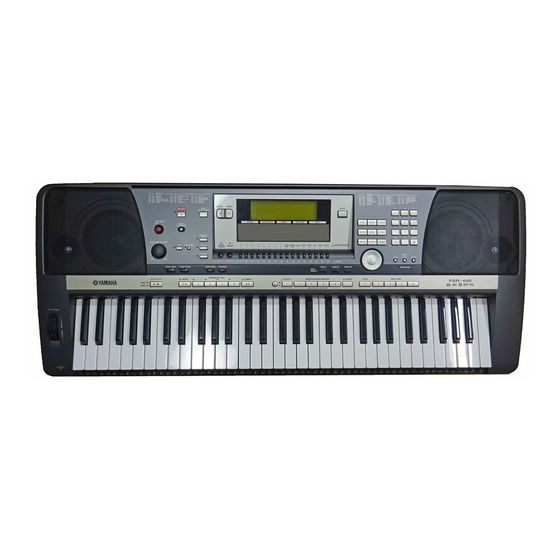
Yamaha PortaTone PSR-640 단계별 절차 - 페이지 9
{카테고리_이름} Yamaha PortaTone PSR-640에 대한 단계별 절차을 온라인으로 검색하거나 PDF를 다운로드하세요. Yamaha PortaTone PSR-640 21 페이지.
Yamaha PortaTone PSR-640에 대해서도 마찬가지입니다: 서비스 매뉴얼 (18 페이지)

The PSR640/740 has the ability to do Multi Track recording. The following
procedure explains how to record the Auto Accompaniment, as well as individual
Tracks.
Recording the Auto Accompaniment into a Song:
1) Insert a formatted floppy disk.
2) Turn ON the [RECORD] button (red LED illuminates).
3) Use the DATA DIAL or [-/NO] and [+YES] buttons to select 'Song'.
4) Press the [NEXT] button.
5) Use the DATA DIAL or [-/NO] and [+YES] buttons to select 'New Song'.
6) Press the [NEXT] button.
7) Use the DATA DIAL or [-/NO] and [+YES] buttons to select
'MULTITRACK recording.
8) Press the [NEXT] button 3 times to display the 'PART' page.
9) Press the [9] button under the screen to display the Parts that Tracks 9 –
16 will record from. These settings already default to the 8 different Parts
used by the Auto Accompaniment (but can be changed if desired).
10) Press the [NEXT] button to display the Song Record 'MODE' page, where
Tracks can be selected for recording.
11) Press the [9] button under the screen to select Track 9.
12) Use the DATA DIAL or [-/NO] and [+YES] buttons to select 'REC' for the
Track.
13) Repeat steps 10 – 11 using the [10] – [16] Track buttons, to set the
remaining Auto Accompaniment Tracks to 'REC'.
14) Press the [NEXT] button.
15) Press the [STYLE] button.
IV. Multi Track Recording
