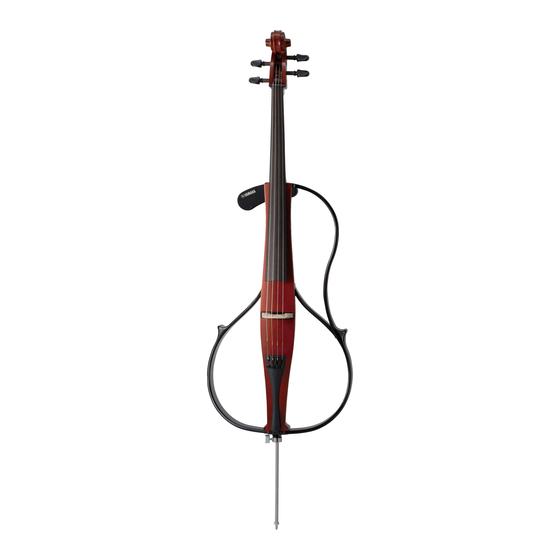
Yamaha Silent Cello SVC110 소유자 매뉴얼 - 페이지 9
{카테고리_이름} Yamaha Silent Cello SVC110에 대한 소유자 매뉴얼을 온라인으로 검색하거나 PDF를 다운로드하세요. Yamaha Silent Cello SVC110 12 페이지. Yamaha silent electric cello owner's manual
Yamaha Silent Cello SVC110에 대해서도 마찬가지입니다: 서비스 매뉴얼 (29 페이지), 소유자 매뉴얼 (13 페이지)

• If the adjuster is too
Caution
loose, it could produce
noise while playing.
Don't loosen
too much.
• When the instrument is not being used, loosen the strings until the pitch drops a whole tone.
• If the instrument is not going to be used for an extended period of time, loosen the strings even more.
• Before using the instrument, make sure that the bridge is positioned vertically. Damage to the bridge
and poor sound quality may result if the bridge is not properly positioned.
● Winding the Strings
(Refer to this section when changing the strings.)
1
Before you string the instrument, set all adjusters so that
they are in the middle of their adjustment ranges.
2
Place the ball (on the end of the string) in the notch on the
adjuster. Make sure the ball is properly inserted in the
adjuster's notch.
3
Insert the other end of the string into the hole on the tuning peg. Rotate the tuning peg. As shown in
the illustration, wind the string on the side away from the peg handle once around the peg, then
return the string back overlapping that wind so that the remaining slack is wound gradually toward
the peg handle. 1st (A) and 2nd (D) strings are shown on the left, 3rd (G) and 4th (C) strings on the
right.
3rd string (G)
Rotate the
tuning peg
as shown
4th string (C)
Caution
String
Ball
2nd string (D)
Rotate the
tuning peg
as shown
Remaining
1st string (A)
winds
Make sure that the Tail Nylon is cor-
rectly positioned on top of the Saddle.
The adjuster should be
set to the middle of its
adjustmenLt range.
Adjuster's notch
Winding the 3rd
and 4th strings
1st
1st
wind
wind
Saddle
Tall nylon
Winding the 1st
and 2nd strings
Remaining
winds
9
