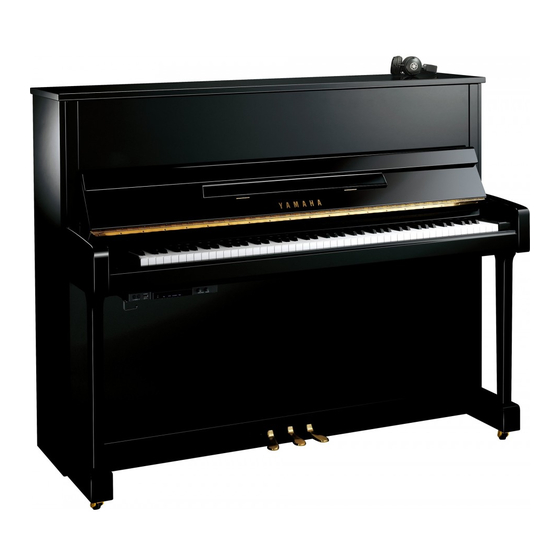
Yamaha SILENT Piano YU11SD 서비스 매뉴얼 - 페이지 11
{카테고리_이름} Yamaha SILENT Piano YU11SD에 대한 서비스 매뉴얼을 온라인으로 검색하거나 PDF를 다운로드하세요. Yamaha SILENT Piano YU11SD 49 페이지.

C.
Electrical Components
1.
Key Sensor Unit
(Time required: About 26 minutes)
1-1
Remove the upper front board. (See procedure B-1)
1-2
Remove the fall board. (See procedure B-3-2)
1-3
Remove the key stopper. (See procedure B-3-3)
1-4
Remove all the keyboards. (See procedure B-3-4)
1-5
Remove the eight (8) screws marked [31S]. The
key sensor unit can then be removed. (Fig. C-1)
[31S]: Truss Head Tapping Screw-1 (TP#1+TRUS) 4.0X20 MFZN2B3 (WE965300)
2.
KEY SENSOR Circuit Board
(Time required: About 27 minutes)
2-1
Remove the upper front board. (See procedure B-1)
2-2
Remove the fall board. (See procedure B-3-2)
2-3
Remove the key stopper. (See procedure B-3-3)
2-4
Remove all the keyboards. (See procedure B-3-4)
2-5
Remove the key sensor unit. (See procedure C-1)
2-6
Remove the two (2) screws marked [51GB]. The
KEY SENSOR circuit board can then be removed.
(Fig. C-2)
<Top view>
<Bottom view>
[51GB]: Bind Head Tapping Screw-S (Sタイト+BIND)
3.0X4 MFZN2W3 (WG242400)
[31S]
[31S]
Key sensor unit
(キーセンサーユニット)
Fig. C-1(図C-1)
Key sensor unit
KEY SENSOR
(キーセンサーユニット)
[51GB]
Fig. C-2(図C-2)
C.
電気部品
1.
キーセンサーユニット
1-1
上前板を外します。 (B-1 項参照)
1-2
鍵盤蓋を外します。 (B-3-2 項参照)
1-3
鍵盤押さえを外します。 (B-3-3 項参照)
1-4
すべての鍵盤を外します。 (B-3-4 項参照)
1-5
[31S]のネジ 8 本を外して、キーセンサーユニット
を外します。 (図 C-1)
[31S]
[31S]
2.
KEY SENSOR シート
2-1
上前板を外します。 (B-1 項参照)
2-2
鍵盤蓋を外します。 (B-3-2 項参照)
2-3
鍵盤押さえを外します。 (B-3-3 項参照)
2-4
すべての鍵盤を外します。 (B-3-4 項参照)
2-5
キーセンサーユニットを外します。 (C-1 項参照)
2-6
[51GB]のネジ 2 本を外して、KEY SENSOR シート
を外します。 (図 C-2)
<Top view>
<Bottom view>
[51GB]
[51GB]
SILENT SD SERIES
(所要時間:約 26 分)
(所要時間:約 27 分)
KEY SENSOR
11
