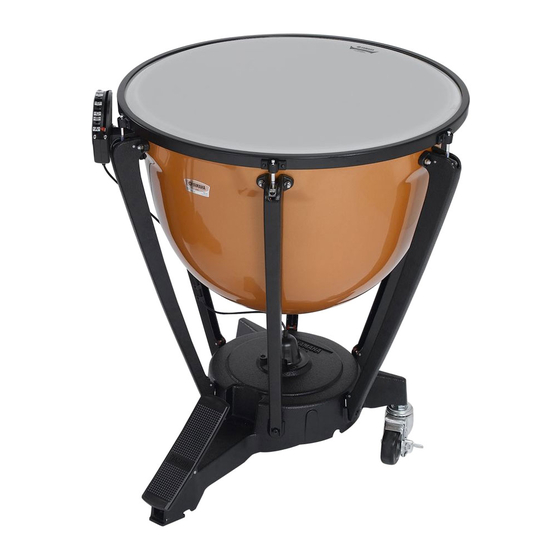
Yamaha TP-5020 소유자 매뉴얼 - 페이지 8
{카테고리_이름} Yamaha TP-5020에 대한 소유자 매뉴얼을 온라인으로 검색하거나 PDF를 다운로드하세요. Yamaha TP-5020 12 페이지. Pedal timpani
Yamaha TP-5020에 대해서도 마찬가지입니다: 소유자 매뉴얼 (12 페이지)

Adjusting The Sound Of Your Timpani
c Tuning Indicator Adjustment
The tuning indicator shows to which note the pedal is
set. After tuning the instrument, you must set each
note of the indicator to its proper position.
1
After you have tuned your timpani to the lowest
note of its tonal range, make sure that the pointer
is located within 10 mm from the pedal-side end
of the indicator rail.
* If not, adjust referring to "Adjusting the Pointer
Position".
2
Slide the lowest note of the indicator ("A" in case
of a 26" timpani — see "Standard Tonal Ranges
for Yamaha Timpani" on page 6) to the position
where its center line coincides with the pointer.
3
Tune the instrument to the next higher pitch
(note) by moving the pedal, and then slide the
corresponding note on the rail to the respective
pointer position. Repeat for each note.
* The tuning indicator can be set to a desired angle
by loosening the indicator mounting screw using a
Phillips screwdriver.
Indicator rail
Note
8
G Adjusting the Pointer Position
First loosen the pointer lock nut and then turn the
adjuster as follows:
After adjustment, securely tighten the pointer lock
nut.
Pointer
G Pointer is located beyond the lower rail end
when heel of pedal is lowered fully (lowest
note)
¡ Turn the adjuster to the left (counterclock-
wise) until the pointer is aligned with the
lowest note of the indicator.
G Pointer moves beyond the upper rail end
before toe of pedal reaches end of stroke,
or
Pointer does not reach lower rail end when
heel of pedal is lowered fully (lowest sound)
¡ Turn the adjuster to the right (clockwise) to
correct the pointer position as required.
Note
Indicator rail
Adjuster
Pointer
Adjustment nut
