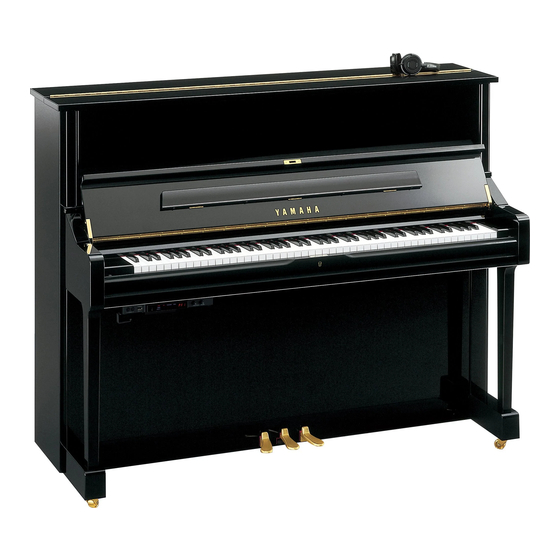
Yamaha U3-SILENT 서비스 매뉴얼 - 페이지 7
{카테고리_이름} Yamaha U3-SILENT에 대한 서비스 매뉴얼을 온라인으로 검색하거나 PDF를 다운로드하세요. Yamaha U3-SILENT 49 페이지.

3.
MN Unit
(time required: about 2 minutes)
3-1 Remove the lower front board. (See Procedure A-2)
3-2 Loosen the three (3) screws marked [51S]. the MN
unit can then be removed. (Fig. B-3)
U1
●
5.
MN POWER SUPPLY Circuit Board
(time required: about 2 minutes)
5-1 Remove the lower front board. (See Procedure A-2)
5-2 Remove the four (4) screws marked [31G]. The MN
POWER SUPPLY Circuit Board can the be removed.
(Fig. B-4)
MN unit
Pedal unit S
[71S]X2
[21G]: Bind Head Tapping Screw-S 3.0X6 MFZN2Y (EP600410)
[51S]: Truss Head Tapping Screw-1 4.0X16 MFZN2Y (03747340)
[61S]: Truss Head Tapping Screw-1 4.0X16 MFZN2Y (03747340)
[71S]: Truss Head Tapping Screw-1 4.0X16 MFZN2Y (03747340)
(Fig. B-3)
MN-POWER SUPPLY
[31G]: Bind Head Tapping Screw-S 3.0X6 MFZN2Y (EP600410)
(Fig. B-4)
4.
MN Circuit Board
(time required: about 28 minutes)
4-1 Remove the lower front board. (See Procedure A-2)
4-2 Remove the six (6) screws marked [21G]. The MN
circuit board can then be removed. (Fig. B-4)
Switch box assembly
[51S]
Pedal unit L
[61S]X2
Front View
[31G]
MN
SILENT SB SERIES
DC IN unit S
MN unit
[31G]
[21G]
[21G]
7
