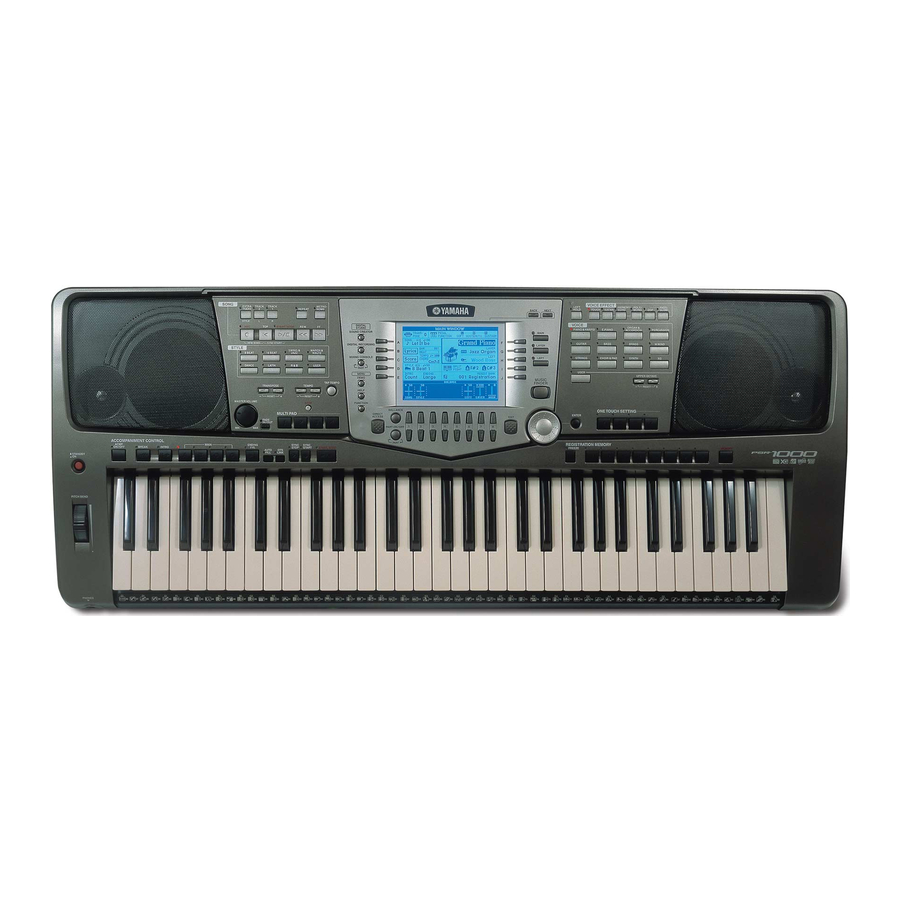
Yamaha PortaTone PSR-1000 빠른 단계 - 페이지 10
{카테고리_이름} Yamaha PortaTone PSR-1000에 대한 빠른 단계을 온라인으로 검색하거나 PDF를 다운로드하세요. Yamaha PortaTone PSR-1000 28 페이지.
Yamaha PortaTone PSR-1000에 대해서도 마찬가지입니다: 서비스 매뉴얼 (19 페이지)

5) Press the [F] 'YES' button to overwrite the old Song version with the new one.
Owner's Manual, p. 102-104
V. Enabling an External MIDI Device to Control Keyboard
Sections
The PSR1000/2000 can be configured so that the 'MAIN', 'LAYER' and 'LEFT'
Voice sections can be individually controlled by an external MIDI device. It can
also be configured so that an external MIDI device can control it the same way
it's own keyboard does (controlling whatever sections are active on the front
panel).
1) Press the [FUNCTION] button.
2) Press the [H] 'MIDI' button.
3) Use the [BACK] and [NEXT] buttons to select the 'PRESET' page in the 'MIDI'
screen.
4) Press the [A] 'All Parts' button..
5) Press the [NEXT] button.
6) Press the '8' [^] 'EDIT' button.
7) Use the [BACK] and [NEXT] buttons to select the 'RECEIVE' page in the
'MIDI' screen.
8) Use the [A] '^' or [B] 'v' buttons to select the desired MIDI Channel (the
Channel being transmitted by the external MIDI device) in the screen.
9) Use the Data Dial to select a section to be triggered.
EXAMPLE: 'MAIN', 'LAYER', or 'LEFT'.
NOTE: To control the PSR1000/2000 the same way it's own keyboard does
(controlling whatever sections are active on the front panel), select 'KEYBOARD'.
10) To control ONLY the Auto Accompaniment section (independent of the
keyboard), do the following:
a) Use the [BACK] and [NEXT] buttons to select the 'CHORD DETECT'
page in the 'MIDI' screen.
