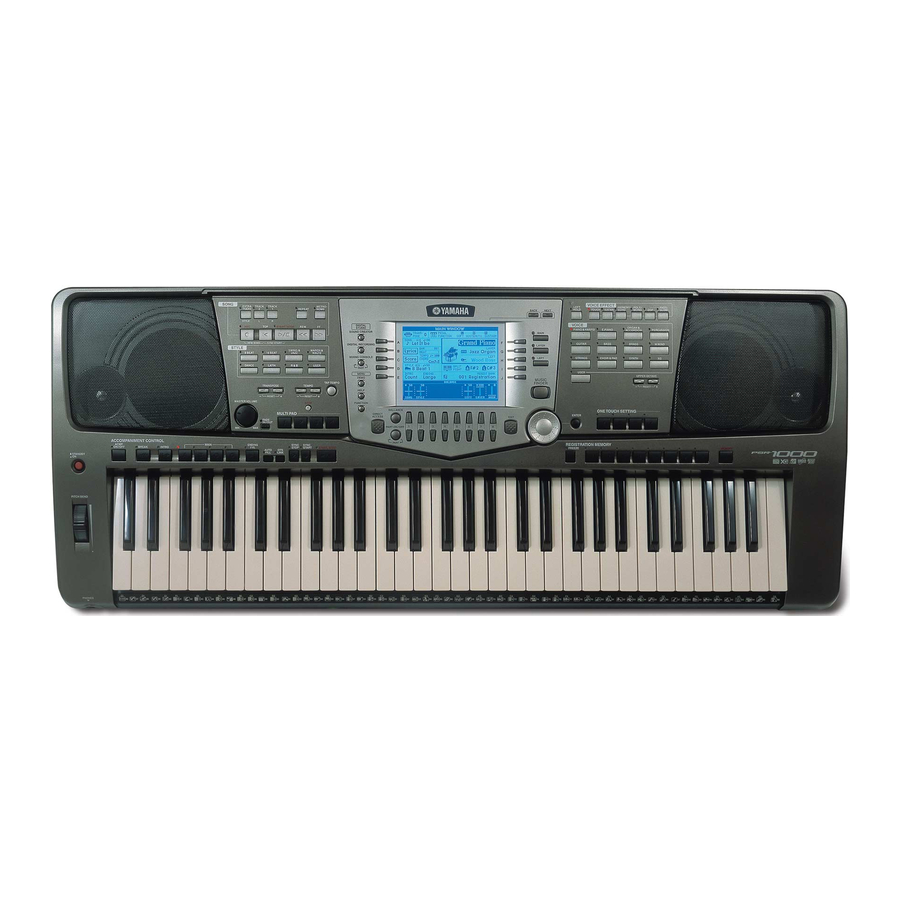
Yamaha PortaTone PSR-1000 빠른 단계 - 페이지 3
{카테고리_이름} Yamaha PortaTone PSR-1000에 대한 빠른 단계을 온라인으로 검색하거나 PDF를 다운로드하세요. Yamaha PortaTone PSR-1000 28 페이지.
Yamaha PortaTone PSR-1000에 대해서도 마찬가지입니다: 서비스 매뉴얼 (19 페이지)

I. Copying Files from one Floppy Disk to Another Floppy Disk
IMPORTANT: Commercially available music data is subject to protection by
copyright laws. Copying commercially available data is strictly prohibited, except
for personal use. Some music software is purposely copy-protected and cannot
be copied.
To copy specific files from disk to disk, the files must first be copied from
the 'source' floppy disk to the 'USER' page, before it is possible to 'paste'
them to the 'destination' floppy disk:
1) Insert the 'source' floppy disk containing the file(s) to be copied. For this
example, the steps for copying Song files will be shown.
2) Press the [A] LCD button to select 'SONG'.
3) Press the [NEXT] button to select the 'FLOPPY DISK' page.
4) Press the '3'
5) Select the desired Song file(s) using the appropriate LCD button(s).
6) Press the '7'
7) Press the [BACK] button to select the 'USER' page.
8) Press the '4'
selected Song file(s) to the 'USER' page.
9) Eject the 'source' floppy disk.
10) Insert the 'destination' floppy disk, to which the Song file(s) will be copied.
11) Press the '3'
appear.
12) Select the desired Song file(s) using the appropriate LCD button(s).
13) Press the '7'
14) Press the [NEXT] button to display the 'FLOPPY DISK' page.
15) Press the '4'
Song file(s) to the 'destination' floppy disk.
LCD button to select 'COPY'. The 'COPY' display will appear.
LCD button to select 'OK'.
LCD button to execute the 'PASTE' command and paste the
LCD button to select 'COPY'. The 'COPY' display will
LCD button to select 'OK'.
LCD button to execute the 'PASTE' command and copy the
