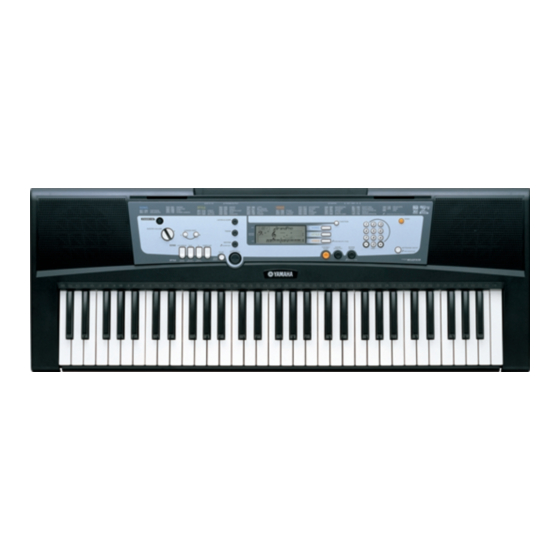
Yamaha Portatone YPT-210 서비스 매뉴얼 - 페이지 12
{카테고리_이름} Yamaha Portatone YPT-210에 대한 서비스 매뉴얼을 온라인으로 검색하거나 PDF를 다운로드하세요. Yamaha Portatone YPT-210 37 페이지.

PSR-E213/YPT-210
6.
Keyboard Assembly
6-1
Remove the lower case keyboard assembly. (See pro-
cedure 5)
6-2
White and black keys for one octave unit are combined
as a set. There are five sets in total.
Remove the four (4) screws marked [110A]. The key-
board can then be removed. (Fig. 5) There are two (2)
hooks at the back of the black keys. (Photo.1)
Press the hook for the black key and lift slightly, and pull
forward to remove the hook for the black key to lift it.
6-3
To remove the white key C6, remove the screw marked
[110B], press the hook at the back to lift slightly, and pull
it forward to remove the hook to lift it.
7.
Rubber Contact
7-1
Remove the lower case keyboard assembly. (See pro-
cedure 5)
7-2
Remove the keyboard corresponding to the rubber con-
tacts to be removed. (See procedure 6)
7-3
Remove the rubber contacts. (Photo. 2, Fig. 6)
<Lower case keyboard assembly (下ケース鍵盤Ass'y) >
Top view (上から見た図)
•
[110A]
C1
Hook
(フック)
Photo. 1 (写真 1)
12
[110A]
B2
[110A] : Bind Head Tapping Screw-P 3x20 MFZN2W3 (WF492000) Pタイト+BIND
[110B] : Bind Head Tapping Screw-P 3x20 MFZN2W3 (WF492000) Pタイト+BIND
6.
鍵盤Ass'y
6-1
下ケース鍵盤Ass'yを外します。 (5項参照)
6-2
白鍵、黒鍵は、左側から1オクターブ単位のセットに
なっています。全部で5セットあります。
[110A] のネジ4本を外して鍵盤を外します。 (図 5) こ
の時、黒鍵の後ろ側にフックが2つあります。 (写真 1)
黒鍵のフックを押し込んで少し持ち上げ、手前に引い
て黒鍵のフックを外し、持ち上げます。
6-3
C6の白鍵は、 [110B] のネジ1本を外して、後ろ側の
フックを押し込んで少し持ち上げ、手前に引いてフッ
クを外し、持ち上げます。
7.
接点ゴム
7-1
下ケース鍵盤Ass'yを外します。 (5項参照)
7-2
外そうとする接点ゴムに対応した鍵盤を外します。
(6項参照)
7-3
接点ゴムを外します。 (写真 2、図 6)
[110A]
[110A]
B3 C4
Fig. 5 (図 5)
[110A]
[110B]
C6
Rubber Contact
(接点ゴム)
Photo. 2 (写真 2)
