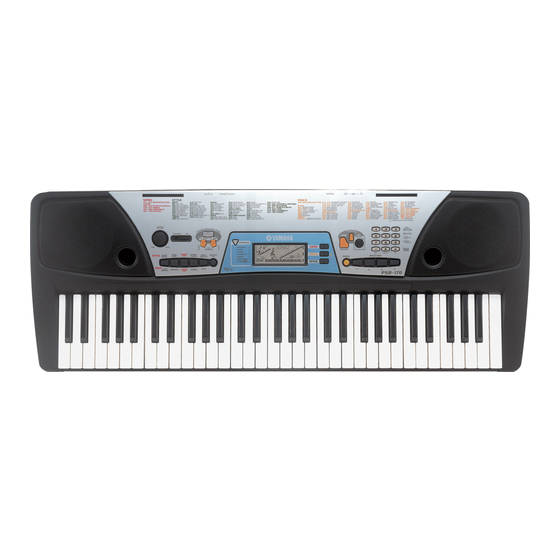
Yamaha PSR-170 서비스 매뉴얼 - 페이지 9
{카테고리_이름} Yamaha PSR-170에 대한 서비스 매뉴얼을 온라인으로 검색하거나 PDF를 다운로드하세요. Yamaha PSR-170 26 페이지.
Yamaha PSR-170에 대해서도 마찬가지입니다: 서비스 매뉴얼 (26 페이지)

8.
White key and Black key
(Time required : About 10 min. each)
8-1.
Remove the lower case assembly. (See procedure 1)
8-2.
Remove the four (4) screws marked [110A] fixing
the black and white keys for one octave. The black
and white keys of each octave can then be removed.
(Fig.7) At this time, lift the back of black key with
[110A]
[110A]
[110] : Bind Head Tapping Screw-P
9.
MK-L and MK-H Circuit Board
(Time required : About 15 min. each)
9-1.
Remove the lower case assembly. (See procedure 1)
9-2.
Remove the black and white keys (C1–B3).(See
procedure 8.)
Remove the four (4) screws marked [90A] and the
[100A]
[110A]
3.0X20 MFZN2
(Fig. 7)
[90A]
[90A]
[100A]
MK-L
[90] :
Bind Head Tapping Screw-B
[100] : Bind Head Tapping Screw-P
pushing the hooks of it and slide the black key
towards you. (Photo 1)
8-3.
When removing the C6 key, remove a screw
marked [110B] and then lift the back of C6 key
with pushing the hook of it and slide it towards
you. (Fig.7)
[110A]
[110A]
(VT069800)
eight (8) screws marked [100A]. The MK-L circuit
board can then be removed. (Fig. 8)
9-3.
Remove the black and white keys (C4–C6).(See
procedure 8.) Remove the three (3) screws marked
[90B] and the five (5) screws marked [100B]. The
MK-H circuit board can then be removed. (Fig. 8)
[100A]
[100B]
3.0X8
MFZN2Y(EP600250)
SP 3.0X12
MFZNBL(VZ313100)
(Fig. 8)
[110B]
Hook
(Photo 1)
C6 Key
[90B]
[100B]
MK-H
PSR-170
9
