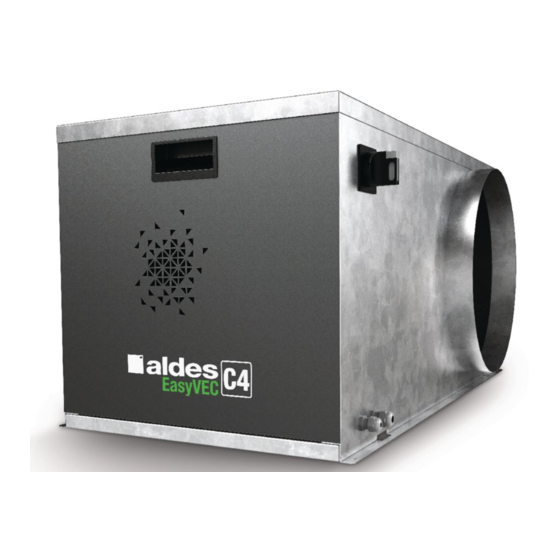
aldes EasyVEC C4 8000 isole 설치 지침 매뉴얼 - 페이지 13
{카테고리_이름} aldes EasyVEC C4 8000 isole에 대한 설치 지침 매뉴얼을 온라인으로 검색하거나 PDF를 다운로드하세요. aldes EasyVEC C4 8000 isole 20 페이지.

EN
If you cannot manage to eliminate the fault yourself using the following table:
- Microwatt and Microwatt+ version reset the remote control to its factory settings, see instructions remote control 11025983
- Turn off the power. Wait until the screens are unlit. Turn on the power.
- If the problem persists, read the product rating plate and contact our after-sales service.
Problem
Microwatt and Microwatt+
version
PCB power fault
The remote control screen
does not light up
Microwatt and Microwatt+
version
A fault is displayed on the
remote control
The circuit breaker on the switchboard detects an overload and
cuts the circuit.
The motor does not
Or power fault.
start and the frequency
controller screen is unlit.
Controller inoperative
The controller is faulty and displays a fault code
The controller does not receive the order to start the motor
The motor does not
start and the frequency
controller screen is lit.
Motor wiring fault
Motor is inoperative
The fan impeller is turning in the opposite direction
The fan cannot generate the pressure or fl ow rate required
The fan does not run
nominally
The controller is in fi re mode (max. speed) and displays "Fire"
Controller fault codes
- Analyse the fault code displayed on the controller and correct the problem.
- Reset the faults by pressing its STOP/RESET button.
Controller fault code
oc
Over-current
ocA, ocd, ocn
Ov
Over-voltage
OvA, Ovd, Ovn, Ovs
Lv
Under-voltage
LvA, Lvd, Lvn, Lvs
oH1
Controller over-heating
oL
Overload (too much motor current)
oL1, oL2, EoL1, EoL2
Gff
Earthing (controller output)
PHL
Loss of phase (controller input)
orP
oPHL
Loss of phase (controller output)
oPL1, oPL2, oPL3
Possible cause
Description
13
• Check all wiring.
• Check the fuse on PCB
• See instructions 11025983 (remote control)
• Check the size of the circuit breaker.
• Check the system voltage and the controller wiring (inside and outside the unit)
• Identify and correct the fault that caused the controller to fail
• Change the controller
• See below: §Controller fault codes
• Check the controller output voltage.
• The order to start is given by the controller terminal block (the RUN button is disabled).
- Check the MI1/DCM bridging on the controller terminal block.
- Check the position of switches above the controller terminal block: NPN (and AVI depending
on version)
- Check the wiring between PCB and controller (depending on version)
• Check the wiring between the controller and the motor terminal box
• Identify and correct the fault that caused the motor to fail
• Change the motor
• Swap two phases on the motor cable
• Check that the pressure setpoint is adjusted correctly (see page 10 instructions Quick Start
Guide (remote control)).
• Check out the pressure sensor: compare the adjusted setpoint with a pressure
measurement taken by you at the same time.
• Check the pressure intake tube between the pressure sensor (output P2, depending on the
version) and the inside of the unit. Unblock it.
• Inspect the motor.
• The fan is under-dimensioned. Check the air handling system for leaks or losses of
abnormal loads.
• Inspect the thermoswitch (normally closed).
• Check that the wiring is correct between the thermoswitch and the controller terminal
block, between MI3 and DCM
• Check the current absorbed by the motor.
• Check the motor cable and insulation (short-circuit or earthing).
• Check the system voltage.
• Check the system voltage.
• Check the motor load (friction, etc.)
• Check the power supply cable (no loss of phase).
• Check the current absorbed by the motor.
• Check the operation of the controller cooling fan.
• Check the ambient temperature of the controller.
• Check the motor load (friction, etc.).
• Check the motor cable and insulation.
• Check the input voltages and phase balance.
• Check the output phase balance
• Change the motor
Solution
Solution
