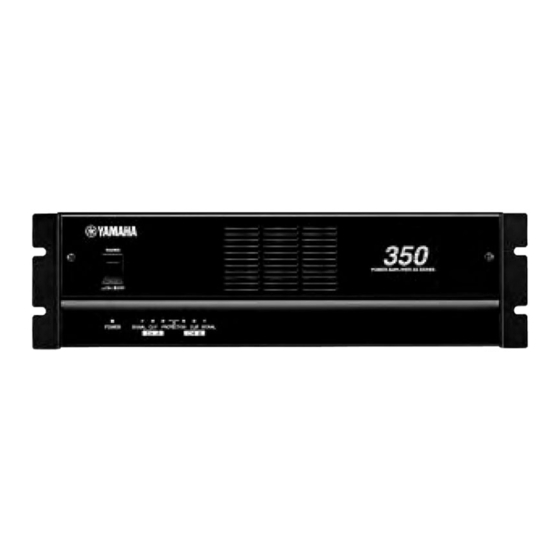
Yamaha XS250 소유자 매뉴얼 - 페이지 3
{카테고리_이름} Yamaha XS250에 대한 소유자 매뉴얼을 온라인으로 검색하거나 PDF를 다운로드하세요. Yamaha XS250 15 페이지. Power amplifier
Yamaha XS250에 대해서도 마찬가지입니다: 서비스 매뉴얼 (28 페이지)

- 1. Power Amplifier
- 2. Table of Contents
- 3. Controls and Functions
- 3. Front Panel
- 3. Rear Panel
- 3. Speaker Impedance
- 4. Caution for Speaker Connection
- 5. Rack Mounting
- 5. Mounting in an EIA Standard Rack
- 5. Portable Rack Mounting
- 5. Fixed Installation Mounting
- 5. General Specifications
- 6. Specifications
- 6. Block Diagram
- 6. Dimensions
- 7. Troubleshooting
Precautions
•
Connect this unit's power cord only to an AC outlet of
the type stated in this Owner's Manual or as marked
on the unit. Failure to do so is a fire and electrical
shock hazard.
•
Do not allow water to enter this unit or allow the unit
to become wet. Fire or electrical shock may result.
•
Do not place heavy objects, including this unit, on top
of the power cord. A damaged power cord is a fire and
electrical shock hazard. In particular, be careful not to
place heavy objects on a power cord covered by a
carpet.
•
Do not scratch, bend, twist, pull, or heat the power
cord. A damaged power cord is a fire and electrical
shock hazard.
•
Do not remove the unit's cover. You could receive an
electrical shock. If you think internal inspection,
maintenance, or repair is necessary, contact your
dealer.
•
Do not modify the unit. Doing so is a fire and electri-
cal shock hazard.
•
If the power cord is damaged (i.e., cut or a bare wire is
exposed), ask your dealer for a replacement. Using the
unit with a damaged power cord is a fire and electrical
shock hazard.
•
If you notice any abnormality, such as smoke, odor, or
noise, or if a foreign object or liquid gets inside the
unit, turn it off immediately. Remove the power cord
from the AC outlet. Consult your dealer for repair.
Using the unit in this condition is a fire and electrical
shock hazard.
•
Should this unit be dropped or the cabinet be damaged,
turn the power switch off, remove the power plug from
the AC outlet, and contact your dealer. If you continue
using the unit without heeding this instruction, fire or
electrical shock may result.
•
Hold the power cord plug when disconnecting it from
an AC outlet. Never pull the cord. A damaged power
cord is a potential fire and electrical shock hazard.
•
Do not touch the power plug with wet hands. Doing so
is a potential electrical shock hazard.
•
This unit has ventilation holes at the front, rear and
sides to prevent the internal temperature rising too
high. Do not block them. Blocked ventilation holes are
a fire hazard.
•
Allow enough free space around the unit for normal
ventilation. This should be: 10 cm at the sides, 30 cm
behind, and 20 cm above.
These distances should also be adopted when rack-
mounting the unit. For normal ventilation during use,
remove the rear of the rack or open a ventilation hole.
If the airflow is not adequate, the unit will heat up
inside and may cause a fire.
•
To mount several of these units in an EIA-compliant
rack, refer to the rack mounting instructions on page
11.
•
Use only speaker cables when connecting speakers to
amplifier outputs. Using other types of cables is a fire
hazard.
•
Do not use this amplifier for any purpose other than
driving loudspeakers.
•
XLR-type connectors are wired as follows:
pin 1: ground, pin 2: hot (+), and pin 3: cold (-).
•
Using a mobile telephone near this unit may induce
noise. If noise occurs, use the telephone away from the
unit.
•
Clean the contacts of the phone plug before connecting
it to the SPEAKERS jack of this unit. Dirty contacts
may generate heat.
Contents
Controls and Functions ............................................. 4
Front Panel ........................................................... 4
Rear Panel ........................................................... 5
Speaker Impedance ............................................. 7
Caution for Speaker Connection ............................... 9
Rack Mounting ........................................................ 10
Mounting in an EIA standard rack ..................... 10
Portable Rack Mounting .................................... 11
Fixed Installation Mounting ................................ 11
General Specifications ....................................... 12
Specifications .......................................................... 12
Block Diagram .................................................... 13
Dimensions ........................................................ 13
Troubleshooting ...................................................... 14
3
