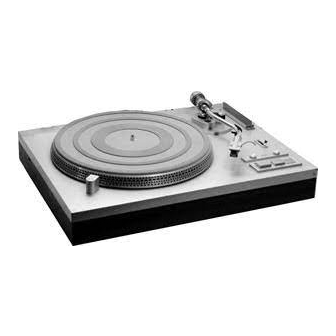
Yamaha YP-D6 소유자 매뉴얼 - 페이지 8
{카테고리_이름} Yamaha YP-D6에 대한 소유자 매뉴얼을 온라인으로 검색하거나 PDF를 다운로드하세요. Yamaha YP-D6 14 페이지.
Yamaha YP-D6에 대해서도 마찬가지입니다: 서비스 매뉴얼 (22 페이지)

7
AS SE M BLY A ND A DJ USTME NTS
ATTACHING AND DETACHING
THE ACRYLIC DUST COVER
The completely detachable acrylic dust cover is
wrapped separately in the original packing from
the Yamaha factory, and should be attached as
shown in the diagram.
Align the studs on both
hinges with the grooves, and slip them first (1)
and then along (2). Simply reverse this when you
wish to detach the dust cover.
hinges will enable you to set it at intermediate
angles.
MOUNTING THE TURNTABLE
Before placing the turntable itself on its central
shaft, turn the auto-return mechanism so that the
arrow mark is in the position shown in the diagram,
on the opposite side of the gear wheel from the
central shaft. Then grasp the turntable platter
carefully by inserting finger and thumb through
two of the holes provided, and place it gently on
the center shaft. After this, put the rubber platter
mat on the turntable.
ASSEMBLING THE TONEARM
Fitting
the
Balance
Counterweight
1. Push the separately wrapped long counter-
weight onto the rear shaft of the tonearm,
rotating it as shown.
Springs in the
Assembly
