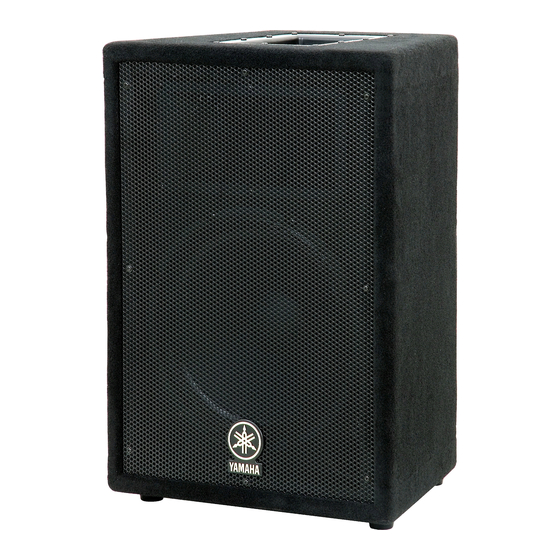
Yamaha A12M 서비스 매뉴얼 - 페이지 10
{카테고리_이름} Yamaha A12M에 대한 서비스 매뉴얼을 온라인으로 검색하거나 PDF를 다운로드하세요. Yamaha A12M 23 페이지. Speaker system/subwoofer
Yamaha A12M에 대해서도 마찬가지입니다: 소유자 매뉴얼 (5 페이지), 소유자 매뉴얼 (5 페이지)

SPEAKER SYSTEM/SUBWOOFER
A10/A12/A12M/A15/A15W
4.
Speaker(Woofer)
(Time required: About 3 minutes)
4-1
Remove the eight (8) screws marked [23]. The metal
grille can then be removed. (Photo.4)
[23]
Metal grille
[23]: +Cup Screw D4.0/L16 Black (WA764400)
5.
Speaker(Tweeter)
(Time required: About 3 minutes)
5-1
Remove the metal grille. (See procedure 4-1)
Speaker(Tweeter)
10
[23]
[23]
[23]
(A10)
Photo.4
Photo.6
4-2
A10: Remove the eight (8) screws marked [5B]. The
speaker(woofer) can then be removed. (Photo.5)
A12/ A15: Remove the eight (8) screws marked [6].
The speaker(woofer) can then be removed. (Photo.5)
[12A]
A10: [5B]
A12 /A15: [6]
Speaker(Woofer)
A10
[5]: +Bind Head Tapping Screw D4.0/L16 Black (AAX59650)
[12]: +Bind Head Tapping Screw D4.0/L25 Black (AAX59670)
A12/A15
[6]: +Bind Head Tapping ScrewD5.0/L20 Black (VB857600)
[12]: +Bind Head Tapping Screw D4.0/L25 Black (AAX59670)
Photo.5
5-2
Remove the the six (6) screws marked [12A].
The speaker(tweeter) can then be removed.
(Photo.5, 6, 7)
Photo.7
Speaker(Tweeter)
[12A]
A10: [5B]
A12 /A15: [6]
(A10)
