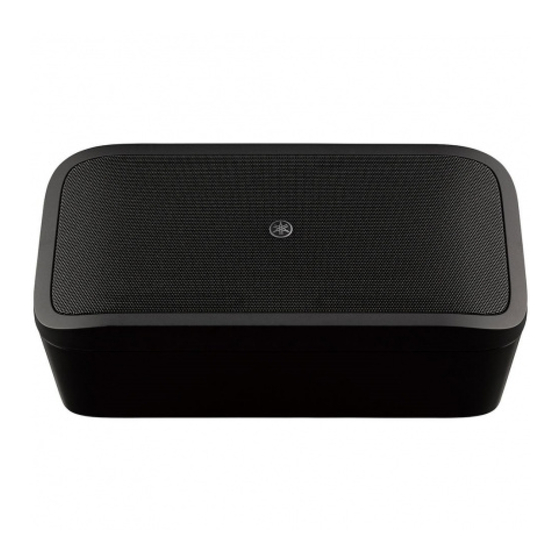
Yamaha CMA3SB 소유자 매뉴얼 - 페이지 13
{카테고리_이름} Yamaha CMA3SB에 대한 소유자 매뉴얼을 온라인으로 검색하거나 PDF를 다운로드하세요. Yamaha CMA3SB 36 페이지.
Yamaha CMA3SB에 대해서도 마찬가지입니다: 소유자 매뉴얼 (24 페이지)

Installing in a ceiling (using the CMA3S)
You can use the optional VXS3S ceiling mount adaptor to install the
speaker in a ceiling.
1
Cut a hole in the ceiling
1-1
Use the included cutout template (350 mm × 210 mm) to mark
the outline of the hole on the ceiling.
NOTE
Make sure to use the included cutout template; if the hole size is not correct, you
will not be able to install the speaker.
1-2
Cut along the outline and cut the hole.
When cutting the hole, be careful to prevent debris or dust from
entering your eyes.
2
Attach the square ring and rails to the inside
surface of the ceiling.
2-1
Insert the two tile rails through the cut hole and place them on the
ceiling surface within your reach. Be sure that each tile rails are
oriented as shown in the illustration.
2-2
Insert the square-ring through the cut hole.
2-3
Secure the square-ring and tile rails with supplied two screws
through either slot of both square-ring brackets.
VXS3SB / VXS3SW / CMA3SB / CMA3SW Owner's Manual
13
