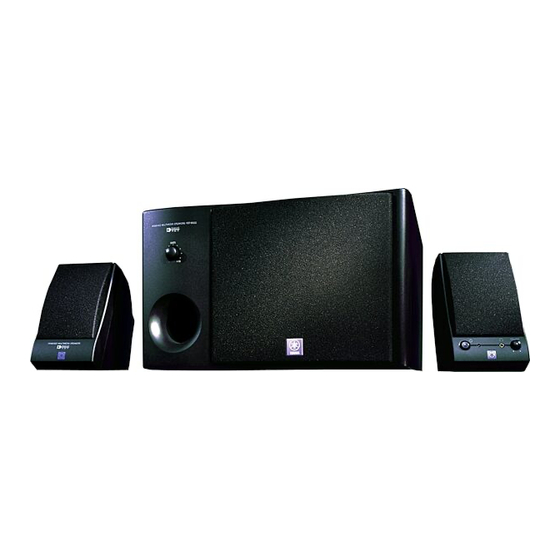
Yamaha YST-MS55D 서비스 매뉴얼 - 페이지 6
{카테고리_이름} Yamaha YST-MS55D에 대한 서비스 매뉴얼을 온라인으로 검색하거나 PDF를 다운로드하세요. Yamaha YST-MS55D 34 페이지. Powered multimedia speakers
Yamaha YST-MS55D에 대해서도 마찬가지입니다: 소유자 매뉴얼 (15 페이지)

- 1. Table of Contents
- 2. To Service Personnel
- 3. Front and Rear Panels
- 4. Specifications
- 5. Internal View
- 6. Disassembly Procedures
- 7. Usb Port Operation Check
- 8. Block Diagram
- 9. Printed Circuit Board
- 10. Printed Circuit Board
- 11. IC Data
- 12. Schematic Diagram
- 13. Schematic Diagram
- 14. Parts List
- 15. Parts List for Carbon Resistors
YST-MS50/YST-MS55D
DISASSENBLY PROCEDURES
(Remove parts in disassenbly order as numbered.)
•
Disassemble of the Subwoofer
1. Removal of the Rear Panel Ass'y.
1
a. Remove 8 screws (
panel ass'y.
b. Disconnect one connector in Fig. 1.
c. Disconnect the Speaker cord in Fig. 1.
2. Removal of the Front Panel Ass'y
The front panel assy is fixed to the cabinet with dowels at 6
locations.
* As a screwdriver (for slotted head screw) is used for
removal, use special care not to cause damage to the
Cabinet.
a. Using the screwdriver insert in the gaps between the front
panel ass'y and cabinet, push up the front panel ass'y.
b. Remove the front panel ass'y while taking it out.
(Front panel ass'y can not to remove completely.)
Dowels
Gaps
Speaker Cord
Rear Panel Ass'y
5
YST-MS50
) in Fig. 1, and remove the rear
Front Panel Ass'y
Cabinet
YST-MS55D
3. Removal of the Speaker
a. Set up the front panel ass'y in the direction of the arrow,
in Fig. 2.
b. Remove 4 screws (
speaker.
Front Panel Ass'y
Connector
1
Fig. 1
2
) in Fig. 2, and remove the
2
Speaker
Fig. 2
