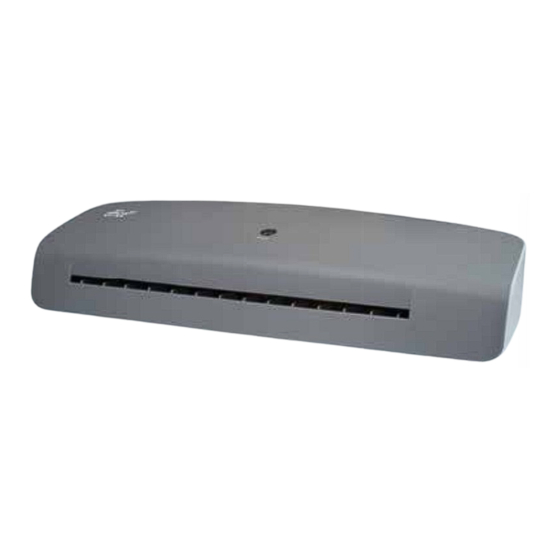
ALDI OL 350-L-17 사용자 설명서 - 페이지 13
{카테고리_이름} ALDI OL 350-L-17에 대한 사용자 설명서을 온라인으로 검색하거나 PDF를 다운로드하세요. ALDI OL 350-L-17 19 페이지. A3 laminator

− Do not in any case laminate documents with a treated surface
(e.g. fax or thermopaper, Polaroid pictures etc.) and papers
with surfaces that may be altered through heat (tickets, ultra-
sonic scans etc.).
− Only use one laminating pouch per lamination, as laminating
pouches may stick tightly together.
− Do not leave any laminating pouches in or next to the
laminator after lamination.
When using the laminator, a slight odour may be produced. Ensure
there is sufficient ventilation in the room, e.g. by opening windows.
Laminating
1. Move the ON / OFF switch
The ready indicator
2. Once the ready indicator is red, place the document between the two sides of the
laminating pouch
Make sure that the document is flush with and aligned as close as possible to the
sealed edge of the laminating pouch.
3. Insert the laminating pouch so that it is centred and with the closed-edge first
into the laminating pouch infeed slot
The heating rollers will automatically pull the laminating pouch in and move it
to the laminating pouch output slot
force to pull out the laminating pouch.
4. Remove the laminating pouch and let it cool off briefly on a flat surface.
− If necessary, you can cut off excessive material after it has cooled
− Repeat the process if the laminating pouch has not adequately
5. Move the ON / OFF switch to "OFF" ( ) to switch the laminator off.
to "ON" (―) (see fig. B).
3
1
will turn from black to red within the next 1 ½–2 minutes.
6
.
off.
adhered to the document.
2
on the back of the laminator.
on the front of the laminator. Do not use
5
Operation
13
