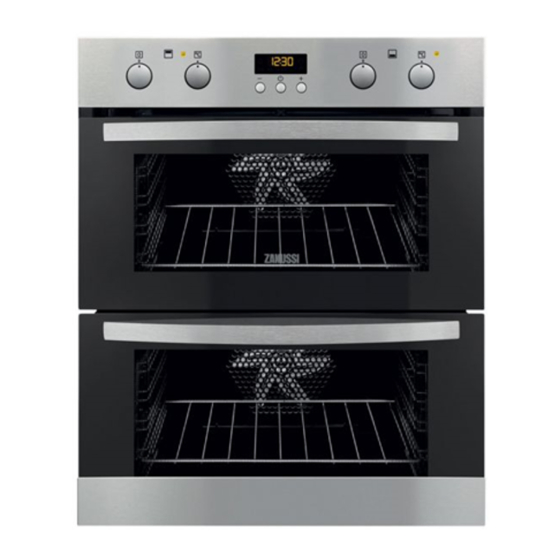
Zanussi ZOF35712X 사용자 설명서 - 페이지 16
{카테고리_이름} Zanussi ZOF35712X에 대한 사용자 설명서을 온라인으로 검색하거나 PDF를 다운로드하세요. Zanussi ZOF35712X 20 페이지.
Zanussi ZOF35712X에 대해서도 마찬가지입니다: 사용자 설명서 (20 페이지), 사용자 설명서 (24 페이지)

Stainless steel or aluminium appliances
Clean the oven door with a wet
sponge only. Dry it with a soft cloth.
Do not use steel wool, acids or
abrasive materials as they can
damage the oven surface. Clean the
oven control panel with the same
precautions.
Removing the shelf supports
To clean the oven, remove the shelf supports.
1
Pull the front of the
1
shelf support away
from the side wall.
Install the shelf supports in the opposite
sequence.
Catalytic cleaning
CAUTION!
Do not clean the catalytic surface
with oven sprays, abrasive cleaning
agents, soap or other cleaning
agents. This will damage the
catalytic surface.
Spots or discolouration of the
catalytic surface have no effect on
catalytic properties.
WARNING!
Keep children away when you clean
the oven at a high temperature. The
oven surface becomes very hot and
there is a risk of burns.
CAUTION!
Always turn the oven light on while
using the catalytic cleaning (if
applicable).
16
2
2
1
Pull the rear end of
2
the shelf support
away from the side
wall and remove it.
Before activating the catalytic
cleaning remove all the accessories
from the oven.
The walls with a catalytic coating are self-
cleaning. They absorb fat which collects on the
walls while the appliance operates.
To support the self-cleaning procedure, heat
the empty oven on a regular basis.
1. Clean the oven floor with warm water and
washing up liquid, then dry it.
2. Set the function
.
3. Set the temperature to 250ºC and let oven
operate for 1 hour.
4. When the appliance is cool, clean it with a
soft and moist sponge.
Removing and installing the door
You can remove the door and the internal glass
panels to clean it. The number of glass panels is
different for different models.
WARNING!
Be careful when you remove the
door from the appliance. The door is
heavy.
1. Open the door fully.
2. Fully lift up the clamping levers (A) on the
two door hinges.
A
3. Close the door until it is at an angle of
approximately 45°.
if applicable. If not, set
A
www.zanussi.com
