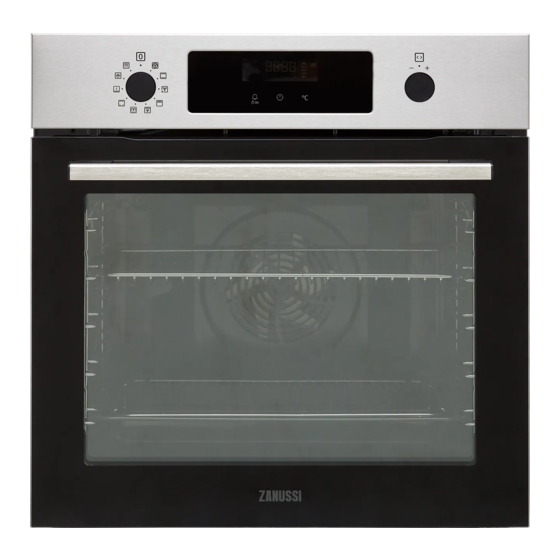
Zanussi ZOPNX6X2 사용자 설명서 - 페이지 4
{카테고리_이름} Zanussi ZOPNX6X2에 대한 사용자 설명서을 온라인으로 검색하거나 PDF를 다운로드하세요. Zanussi ZOPNX6X2 32 페이지.
Zanussi ZOPNX6X2에 대해서도 마찬가지입니다: 사용자 설명서 (37 페이지), 사용자 설명서 (29 페이지)

• WARNING: The appliance and its accessible parts become
hot during use. Care should be taken to avoid touching
heating elements or the surface of the appliance cavity.
• Always use oven gloves to remove or insert accessories or
ovenware.
• To remove the shelf supports first pull the front of the shelf
support and then the rear end away from the side walls.
Install the shelf supports in the opposite sequence.
• Do not use a steam cleaner to clean the appliance.
• Do not use harsh abrasive cleaners or sharp metal scrapers
to clean the glass door since they can scratch the surface,
which may result in shattering of the glass.
• Before pyrolytic cleaning, remove all accessories and
excessive deposits/spills from the appliance cavity.
2. SAFETY INSTRUCTIONS
2.1 Installation
WARNING!
Only a qualified person must install this
appliance.
• Remove all the packaging.
• Do not install or use a damaged
appliance.
• Follow the installation instructions supplied
with the appliance.
• Always take care when moving the
appliance as it is heavy. Always use safety
gloves and enclosed footwear.
• Do not pull the appliance by the handle.
• Install the appliance in a safe and suitable
place that meets installation requirements.
• Keep the minimum distance from other
appliances and units.
• Before mounting the appliance, check if
the appliance door opens without restraint.
• The appliance is equipped with an electric
cooling system. It must be operated with
the electric power supply.
Cabinet minimum height
(Cabinet under the worktop
minimum height)
4
ENGLISH
580 (600) mm
Cabinet width
Cabinet depth
Height of the front of the
appliance
Height of the back of the
appliance
Width of the front of the ap‐
pliance
Width of the back of the ap‐
pliance
Depth of the appliance
Built in depth of the appli‐
ance
Depth with open door
Ventilation opening mini‐
mum size. Opening placed
on the bottom rear side
Mounting screws
560 mm
550 (550) mm
589 mm
571 mm
595 mm
559 mm
569 mm
548 mm
1022 mm
560x20 mm
4x25 mm
