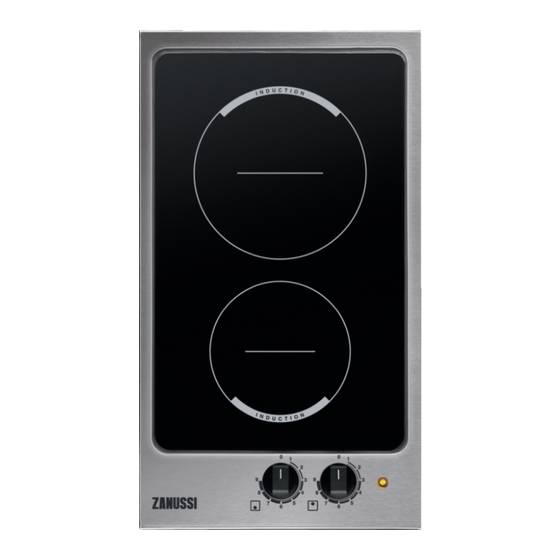
Zanussi ZEI3921 사용자 설명서 - 페이지 9
{카테고리_이름} Zanussi ZEI3921에 대한 사용자 설명서을 온라인으로 검색하거나 PDF를 다운로드하세요. Zanussi ZEI3921 12 페이지. Product manaul
Zanussi ZEI3921에 대해서도 마찬가지입니다: 사용자 설명서 (32 페이지), 사용자 설명서 (48 페이지), 사용자 설명서 (36 페이지), 사용자 설명서 (12 페이지)

Installation
Warning! Refer to the Safety chapters.
Installation
Warning! Read and follow the
instructions carefully. There is a risk of
injury or damage to the appliance.
• Make sure that there is no damage to the ap-
pliance from the transportation. Do not con-
nect a damaged appliance. Speak to the
supplier if necessary.
• Install built-in appliances only after you as-
semble the appliance into correct built-in
units and work surfaces. Make sure that
built-in units and surfaces obey the stand-
ards.
• Obey all orders and standards in force in the
country where you use the appliance (safety
standards, recycling standards, electrical
safety standards etc.)
Warning! Risk of injury from electrical
current.
• The electrical mains terminal is live.
• Make electrical mains terminal free of volt-
age.
• If the fixing bracket is near to the terminal
block, do not let the connection cable come
in contact with the edge of the bracket.
Electrical connection
• Do not pull the mains cable to disconnect
the appliance. Always pull the mains plug (if
applicable).
• The appliance must not be connected with
an extension cable, an adapter or a multiple
socket. There is a risk of fire.
• Do not let the power cable to heat up to a
temperature of more than 90° C. The cable
should be guided by means of clamps fixed
to the side of the cabinet, in order to avoid
any contact with the equipment beneath the
cooktop.
• Make sure that there is access to the mains
plug after the installation.
www.zanussi.com
Electrical Requirements
Permanent electrical installation must agree
with the latest I.E.E. Regulations and local Elec-
tricity Board regulations. For your own safety
the installation must be done by a qualified
electrician (e.g. your local Electricity Board, or a
contractor who is on the roll of the National In-
spection Council for Electrical Installation Con-
tracting [NICEIC]).
The manufacturer refuses to be held re-
sponsible, if these safety measures are not
abided by.
Supply connections:
This hob has to be connected to 230 — 240 V
( 50 Hz) electricity supply.
Before carrying out the connection, make sure:
1. The limiter valve and the electrical system
can take the appliance load (see the rating
plate)
2. The supply system is equipped with an effi-
cient earth connection in compliance with
the current standards and regulations
3. The outlet or omnipolar switch used for
connection is easily accessible with the
appliance installed.
The appliance is supplied with a 3 core flexible
power cable requiring a 13 amp plug fitted with
a 13 amp or 3 amp fuse dependent on the
load. You must purchase and install the plug.
The wires in the cord are coloured as follows:
Green and yellow
Blue
Brown
Replacement of the connection cable
1. Connect the green and yellow (earth) wire
to the terminal which is marked with the
letter 'E', or the earth symbol
oured green and yellow.
2. Connect the blue (neutral) wire to the ter-
minal which is marked with the letter 'N' or
coloured blue.
- Earth
- Neutral
- Live
, or col-
9
