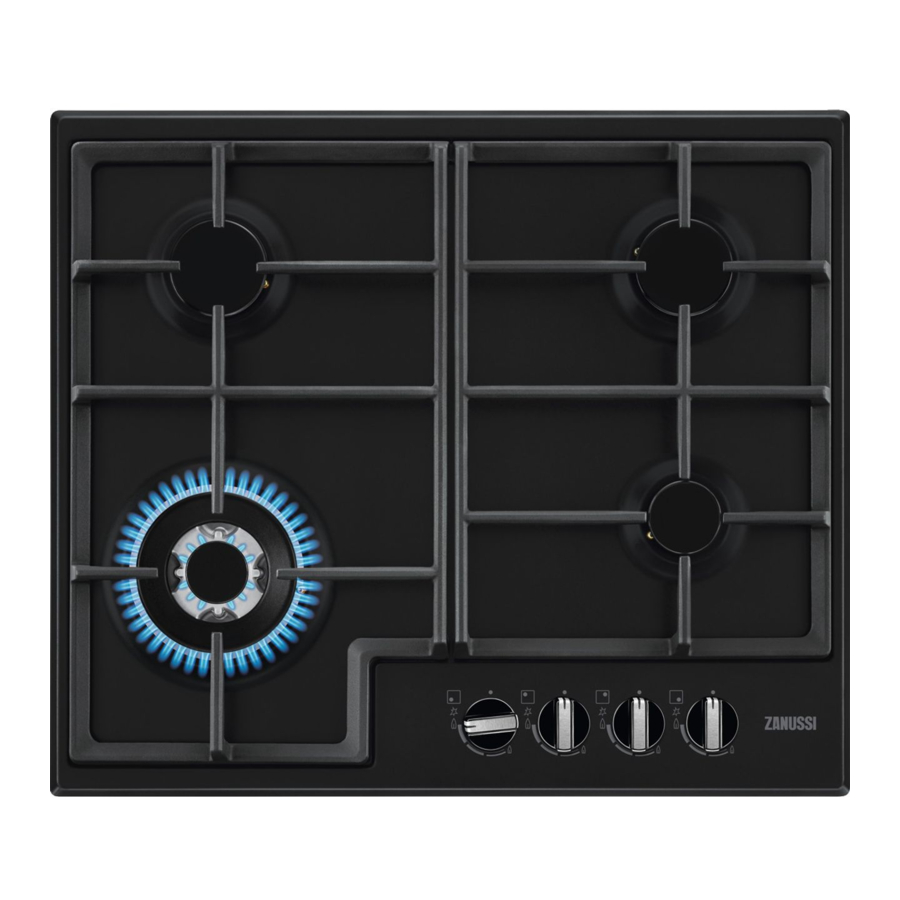
Zanussi ZGNN645X 사용자 설명서 - 페이지 7
{카테고리_이름} Zanussi ZGNN645X에 대한 사용자 설명서을 온라인으로 검색하거나 PDF를 다운로드하세요. Zanussi ZGNN645X 21 페이지.
Zanussi ZGNN645X에 대해서도 마찬가지입니다: 사용자 설명서 (21 페이지)

Rigid connection:
Carry out connection by using metal rigid pipes
(copper with mechanical end).
INJECTORS REPLACEMENT
1. Remove the pan supports.
2. Remove the caps and crowns of the burner.
3. With a socket spanner 7 remove the injectors
and replace them with the ones which are
necessary for the type of gas you use (see
table in "Technical Data" chapter).
4. Assemble the parts, follow the same procedure
backwards.
5. Attach the label with the new type of gas
supply near the gas supply pipe. You can find
this label in the package supplied with the
appliance.
If the supply gas pressure is changeable or
different from the necessary pressure, you must fit
an applicable pressure adjuster on the gas supply
pipe.
ADJUSTMENT OF MINIMUM LEVEL
To adjust the minimum level of the burners:
1. Light the burner.
2. Turn the knob on the minimum position.
3. Remove the knob and the gasket.
WARNING! Pay attention not to
damage the gasket. Do not use sharp
tool to remove it.
4. With a thin screwdriver, adjust the bypass
screw position (A).
A
5. If you change:
•
from natural gas G20 20 mbar to liquid gas,
fully tighten the bypass screw in.
•
from liquid gas to natural gas G20 20 mbar,
undo the bypass screw approximately 1/4
of a turn (1/2 of a turn for Multi Crown
burner).
6. Reassemble the gasket and the knob.
WARNING! Make sure to place the
gasket exactly in the original position.
WARNING! Make sure the flame does
not go out when you quickly turn the
knob from the maximum position to the
minimum position.
ELECTRICAL CONNECTION
•
Do not pull the mains cable to disconnect the
appliance. Always pull the mains plug (if
applicable).
•
The appliance must not be connected with an
extension cable, an adapter or a multiple socket.
There is a risk of fire.
•
Do not let the power cable to heat up to a
temperature of more than 90° C. The cable
should be guided by means of clamps fixed to
the side of the cabinet, in order to avoid any
contact with the appliance beneath the cooktop.
7
