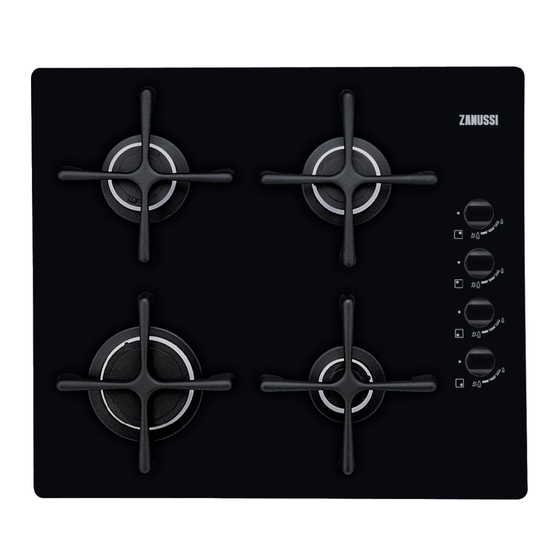
Zanussi ZGO63414 사용자 설명서 - 페이지 5
{카테고리_이름} Zanussi ZGO63414에 대한 사용자 설명서을 온라인으로 검색하거나 PDF를 다운로드하세요. Zanussi ZGO63414 40 페이지. 58 cm, 4 zones
Zanussi ZGO63414에 대해서도 마찬가지입니다: 사용자 설명서 (48 페이지), 매뉴얼 (44 페이지), 사용자 설명서 (16 페이지), 사용자 설명서 (40 페이지)
Liquid gas: use the rubber pipe holder. Always
engage the gasket. Then continue with the gas
connection. The flexible pipe is prepared for ap-
ply when:
– it can not get hot more than room tempera-
ture, higher than 30°C;
– it is no longer than 1500 mm;
– it shows no throttles;
– it is not subject to traction or torsion;
– it does not get in touch with cutting edges or
corners;
– it can be easily examined in order to check
its condition.
The control of preservation of the flexible pipe
consists in checking that:
– it does not show cracks, cuts, marks of burn-
ings on the two ends and on its full length;
– the material is not hardened, but shows its
correct elasticity;
– the fastening clamps are not rusted;
– expired term is not due.
If one or more defects are visible, do not repair
the pipe, but replace it.
Important! When installation is complete,
make sure that the seal of each pipe fitting is
correct. Use a soapy solution, not a flame!
Injectors replacement
1. Remove the pan supports.
2. Remove the caps and crowns of the burn-
er.
3. With a socket spanner 7 remove the injec-
tors and replace them with the ones which
are necessary for the type of gas you use
(see table in "Technical Data" chapter).
4. Assemble the parts, follow the same pro-
cedure backwards.
5. Replace the rating plate (it is near the gas
supply pipe) with the one for the new type
of gas supply. You can find this plate in the
package supplied with the appliance.
If the supply gas pressure is changeable or dif-
ferent from the necessary pressure, you must fit
an applicable pressure adjuster on the gas sup-
ply pipe.
www.zanussi.com
Adjustment of minimum level
To adjust the minimum level of the burners:
1. Light the burner.
2. Turn the knob on the minimum position.
3. Remove the knob.
4. With a thin screwdriver, adjust the by-pass
screw position.
1
The by-pass screw
1
– If you change from natural gas G20 20
mbar to liquid gas, fully tighten the ad-
justment screw in.
– If you change from liquid gas to natural
gas G20 20 mbar, undo the by-pass
screw approximately 1/4 of a turn.
Warning! Make sure the flame does not
go out when you quickly turn the knob
from the maximum position to the minimum
position.
Electrical connection
• Ground the appliance according to safety
precautions.
• Make sure that the rated voltage and type of
power on the rating plate agree with the volt-
age and the power of the local power supply.
• This appliance is supplied with a mains ca-
ble. It has to be supplied with a correct plug,
able to support the load marked on the rating
plate. The plug has to be fitted in a correct
socket.
• Any electrical component must be installed
or replaced by the Service Force Centre
technician or qualified service personnel.
• Always use a correctly installed shockproof
socket.
5