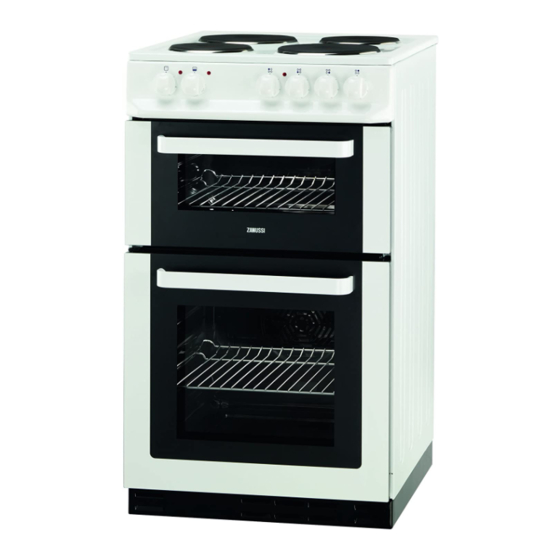
Zanussi ZCE560 사용자 설명서 - 페이지 19
{카테고리_이름} Zanussi ZCE560에 대한 사용자 설명서을 온라인으로 검색하거나 PDF를 다운로드하세요. Zanussi ZCE560 28 페이지. Product manaul
Zanussi ZCE560에 대해서도 마찬가지입니다: 매뉴얼 (28 페이지)

- 1. Table of Contents
- 1. Table of Contents
- 2. Cleaning and Maintenance
- 2. Cleaning and Maintenance
- 3. Description of the Appliance
- 3. Description of the Appliance
- 4. The Electronic Timer (Zcv563Dw/Dn/DX)
- 4. The Electronic Timer (Zcv563Dw/Dn/DX)
- 5. The Main Oven
- 5. The Main Oven
- 6. What to Do if
- 6. What to Do if
- 7. Installation
- 7. Installation
- 8. Technical Data
- 8. Technical Data
The grill, ovens and timer do not work.
The grill and top oven work but the main oven does not.
The timer does not work.
The oven is not cooking evenly.
The indicator neons are not working correctly.
The oven fan is noisy.
The oven temperature is too high or too low.
Installation
Installation instructions
!
WARNING!
This appliance must be earthed.
• If your appliance has been damaged in transit,
contact your supplier immediately. Do not attempt
to install it.
• Your appliance left the factory fully packaged to
protect it from damage. If it is delivered without
packaging and damage has occurred, the
manufacturer cannot accept responsibility. Contact
your supplier for advice.
• Once the packaging has been removed the
appliance should only be moved by hand. Do not
use a sack barrow or any other aid to lift the
appliance as damage may occur. Do not carry the
appliances at the doorhandle.
• To move the appliance, open the oven door and lift
the appliance by holding inside the top of the
compartment.
• This is a type X appliance, which means it is
Problem
Possible solution
•
Check that the appliance has been wired in to the
appliance supply and is switched on at the wall.
•
Check that the main appliance fuse is working.
•
If you have checked the above: Allow the appliance
to cool for a couple of hours. The appliance should
now be working normally.
•
Check that the time of day has been set on the clock.
•
Check that the instructions for the operation of the
timer are being closely followed.
•
Check that the appliance is correctly installed and
is level.
•
Check that the recommended temperatures and
shelf positions are being used.
Check that you have selected only the function you
•
require. Ensure all other controls are in the off position.
Check that the oven is level.
•
•
Check that the shelves and bakeware are not vibrating
in contact with the oven back panel.
m
Check that the recommended temperatures and
•
shelf positions are being used. Be prepared to adjust
the temperature up or down to achieve the
results you want.
freestanding and can be fitted with cabinets on one
or both sides.
• Sidewalls, which are above hob level, should be
protected by heat resistant non-combustible
material and must not be nearer than 40mm to the
hob side.
• A nominal air gap of 5mm at either side of the
appliance is required to enable the appliance to be
moved into position.
• Always ensure an air gap is maintained at hotplate
level. Tiles or other forms of deep wall covering
should not obscure this gap.
• Overhanging surfaces or a cooker hood should be
a minimum of 685mm above the hob.
• It is important to ensure that the appliance is level
after installation. Levelling feet are fitted to the
appliance to accommodate uneven floors.
Adjustment of levelling feet
The cooker stands on 4 levelling feet. It is required to
confirm the appliance is correctly levelled before
19
