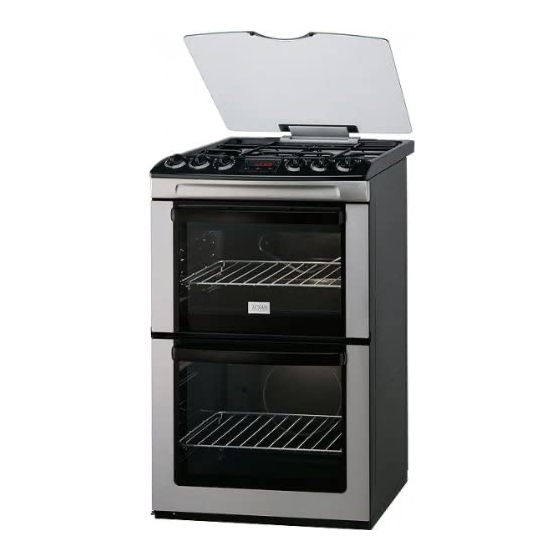
Zanussi ZCG551 사용자 설명서 - 페이지 8
{카테고리_이름} Zanussi ZCG551에 대한 사용자 설명서을 온라인으로 검색하거나 PDF를 다운로드하세요. Zanussi ZCG551 28 페이지. Cooker
Zanussi ZCG551에 대해서도 마찬가지입니다: 사용자 설명서 (28 페이지), 사용자 설명서 (28 페이지), 사용자 설명서 (28 페이지)

To bake and roast or as pan to collect fat.
• The roasting pan grid
Before first use
Warning! Refer to the Safety chapters.
Initial Cleaning
• Remove all accessories and removable shelf
supports (if applicable).
• Clean the appliance before first use.
Important! Refer to the chapter "Care and
cleaning".
Setting the time
You must set the time before you operate
the oven.
When you connect the appliance to the electri-
cal supply or after a power cut, the indicator for
the Time of Day function flashes.
Press the + or - button to set the correct time.
Hob - Daily use
Warning! Refer to the Safety chapters.
Lighting the burners
Warning! Be very careful when you use
open fire in a kitchen environment. The
manufacturer declines all responsibility in case
of misuse of the flame.
Always light the burner before you put
cookware on it.
1. Turn the knob to the maximum position
and push it down. When you push the
knob, the spark generator activates auto-
matically.
2. Keep the control knob pushed for approxi-
mately 5 seconds. This lets the thermocou-
ple warm up. If not, the gas supply is inter-
rupted.
3. Adjust the flame after it is regular.
If after some tries the burner does not light,
check if the crown and its cap are in the
correct positions.
8
To put in the deep roasting pan.
After approximately five seconds, the flashing
stops and the display shows the time of day you
set.
To change the time, press
again until the indicator for the Time of Day
function flashes.
Preheating
Set an oven to maximum temperature and run
an empty oven for 45 minutes, to burn off any
residue from the cavity surface. Accessories
can become hotter than in normal use. During
this period an odour can be emitted. This is nor-
mal. Make sure the room is well ventilated.
Preheat the two ovens. Heat up one oven at a
time.
9
8
7
6
Burner cap
1
Burner crown
2
Ignition candle
3
Thermocouple
4
Hob
5
Slots
6
Burner body
7
Location peg
8
Hole
9
again and
1
2
3
4
5
www.zanussi.com
