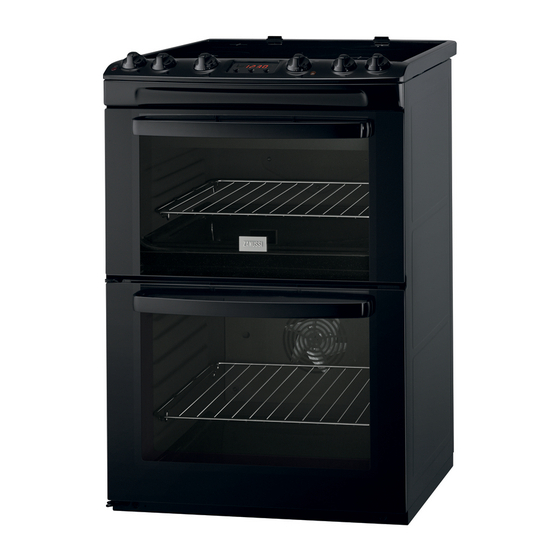
Zanussi ZCV665MN 사용자 설명서 - 페이지 19
{카테고리_이름} Zanussi ZCV665MN에 대한 사용자 설명서을 온라인으로 검색하거나 PDF를 다운로드하세요. Zanussi ZCV665MN 20 페이지. Cooker
Zanussi ZCV665MN에 대해서도 마찬가지입니다: 사용자 설명서 (24 페이지)

1. Install the anti-tilt protection (A) on the wall.
Make sure that the wall is made of a solid
material. If not, you need to make the wall
sufficiently strong to hold the weight.
Make sure that the surface behind the appliance
is smooth.
2. Put the appliance in the middle of the space
between the cupboards.
If the space is larger than the width of the
appliance, you must adjust the side
measurement.
3. Install the anti-tilt protection (A)
approximately 77 mm below the top surface
of the appliance and 50 mm from the left or
right side of the appliance into the circular
hole on the bracket. Screw it into the wall.
4. Check that the anti-tilt protection (A) fits
minimum 20 mm into the hole in the rear
wall of the appliance (B) when you push the
appliance.
Electrical installation
WARNING!
The manufacturer is not responsible
if you do not follow the safety
precautions from Safety chapters.
ENVIRONMENTAL CONCERNS
Recycle the materials with the symbol
the packaging in applicable containers to
recycle it. Help protect the environment and
human health and to recycle waste of electrical
and electronic appliances. Do not dispose
appliances marked with the symbol
www.zanussi.com
This appliance is supplied without a main plug
or a main cable.
Covering terminal board
B
• The recommended cross-section area is six
• When you refit the mains terminal cover,
• Make sure that the cover is securely
Terminal board
50 mm
77 mm
A
Make sure that the links are fitted as shown.
household waste. Return the product to your
. Put
local recycling facility or contact your municipal
office.
with the
*
square millimetres (6 mm²).
make sure that the lower tabs are located
inside the bottom edge of the aperture,
before you fix the two screws into the top
edge of the mains terminal cover.
fastened.
To open the cover of terminal board
obey the procedure in opposite
sequence.
Do not remove blanking plates.
L
L
N
N
N
19
