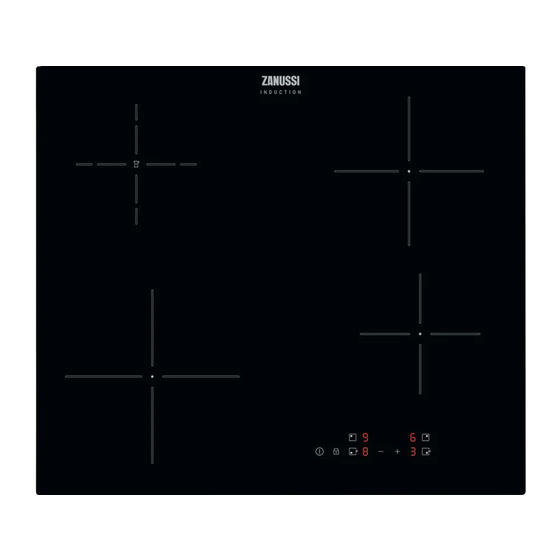
Zanussi ZEI6840FBA 사용자 설명서 - 페이지 11
{카테고리_이름} Zanussi ZEI6840FBA에 대한 사용자 설명서을 온라인으로 검색하거나 PDF를 다운로드하세요. Zanussi ZEI6840FBA 20 페이지.
Zanussi ZEI6840FBA에 대해서도 마찬가지입니다: 사용자 설명서 (20 페이지), 사용자 설명서 (20 페이지)

What to do if...
Problem
You cannot activate or operate
the hob.
An acoustic signal sounds and
the hob deactivates.
An acoustic signal sounds when
the hob is deactivated.
The hob deactivates.
Residual heat indicator does not
come on.
The heat setting changes be-
tween two levels.
The sensor fields become hot.
comes on.
comes on.
comes on.
www.zanussi.com
Possible cause
The hob is not connected to an
electrical supply or it is connec-
ted incorrectly.
The fuse is blown.
You touched 2 or more sensor
fields at the same time.
There is water or fat stains on the
control panel.
You put something on one or
more sensor fields.
You put something on the sensor
field
.
The zone is not hot because it
operated only for a short time.
Power management function op-
erates.
The cookware is too large or you
put it too near to the controls.
Automatic Switch Off operates.
The Child Safety Device or the
Lock function operates.
There is no cookware on the
zone.
The cookware is incorrect.
The diameter of the bottom of the
cookware is too small for the
zone.
Remedy
Check if the hob is correctly con-
nected to the electrical supply.
Refer to the connection diagram.
Make sure that the fuse is the
cause of the malfunction. If the
fuse is blown again and again,
contact a qualified electrician.
Activate the hob again and set
the heat setting in less than 10
seconds.
Touch only one sensor field.
Clean the control panel.
Remove the object from the sen-
sor fields.
Remove the object from the sen-
sor field.
If the zone operated sufficiently
long to be hot, speak to an Au-
thorised Service Centre.
Refer to "Daily use" chapter.
Put large cookware on the rear
zones if possible.
Deactivate the hob and activate it
again.
Refer to "Daily use" chapter.
Put cookware on the zone.
Use the correct cookware.
Refer to "Hints and tips" chapter.
Use cookware with correct di-
mensions.
Refer to "Technical information"
chapter.
11
